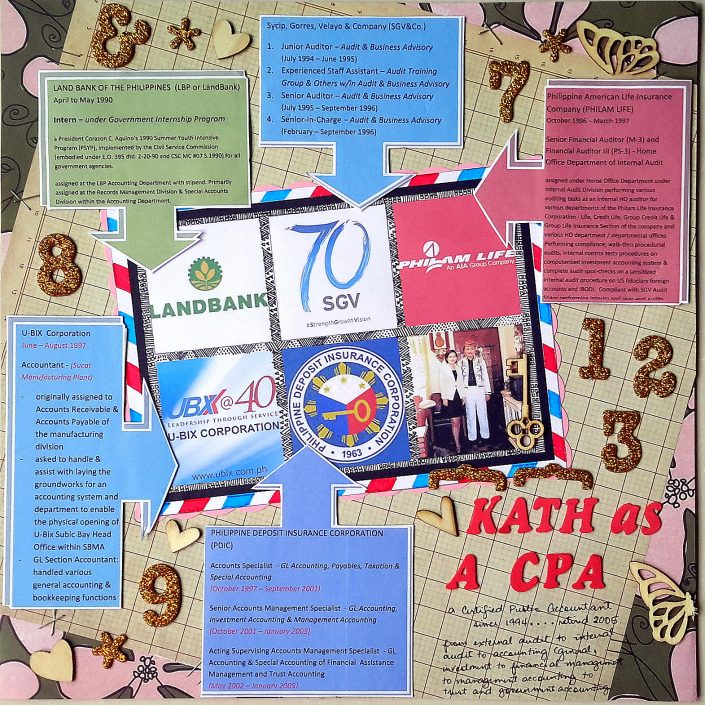
Commemorative Retirement Scrapbook Ideas: Step by Step Guide to Start
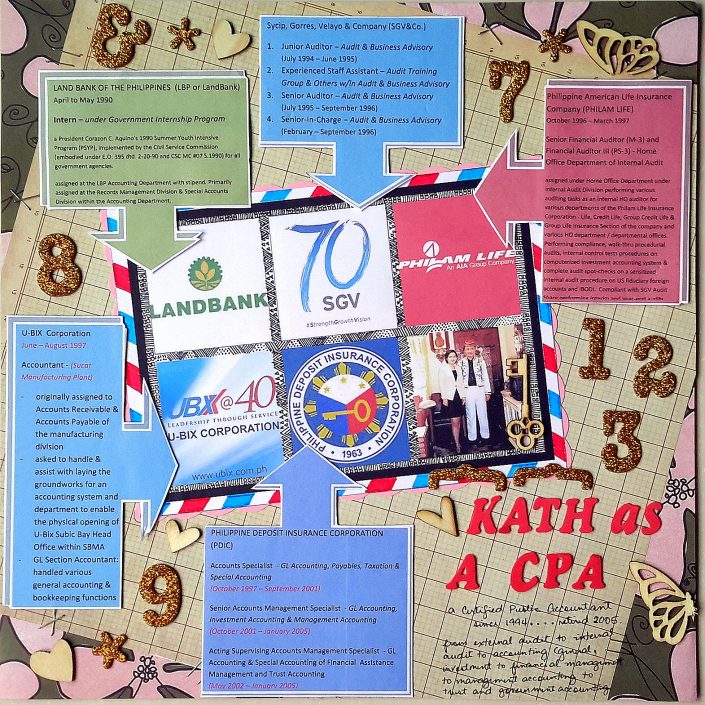
Career Retirement Scrapbook Pages Layout
Wait! Now That You Have A Theme For Your Layout, Then You'll Need To Know What Techniques To Use....Let Me Show You...
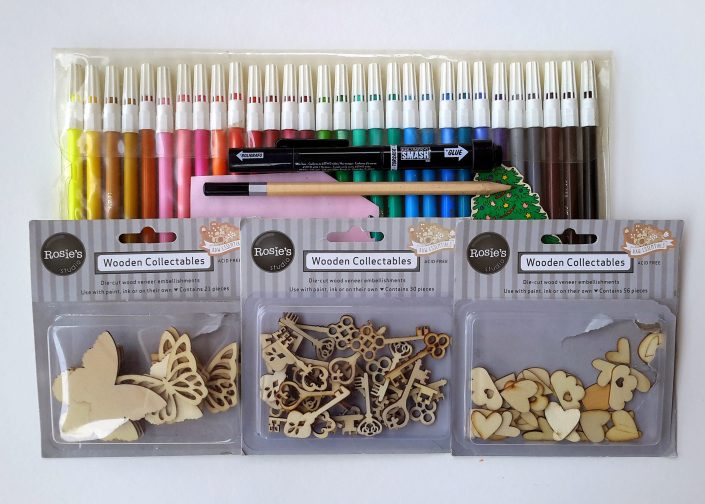
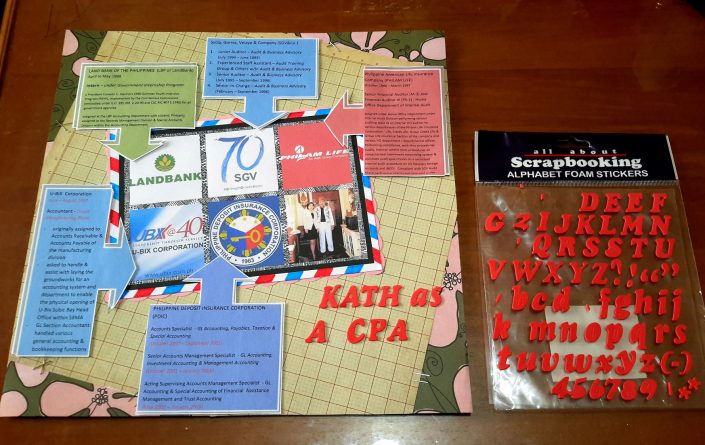
Your Retirement Scrapbook Albums Materials
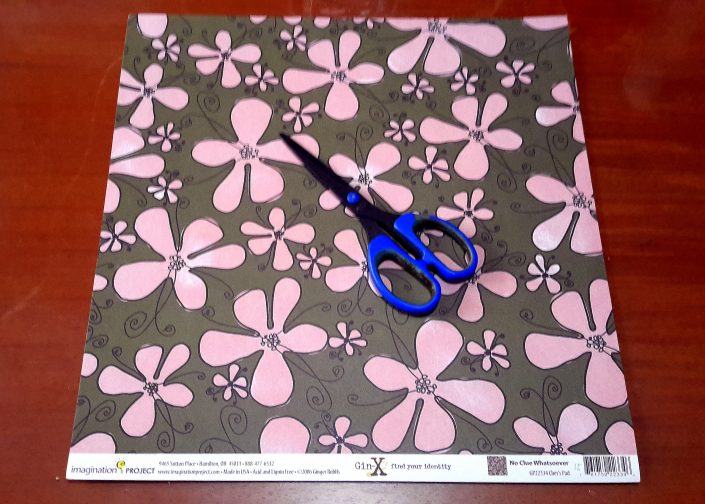
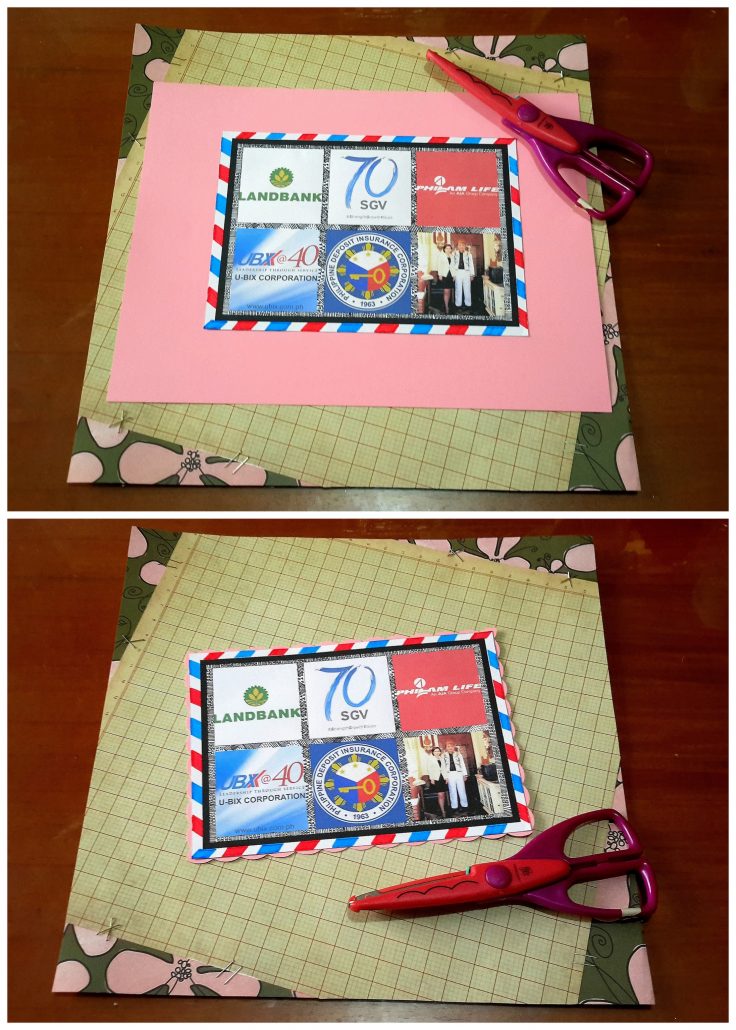
1. Prepare your pattern paper by trimming the unwanted portion with your scissors.
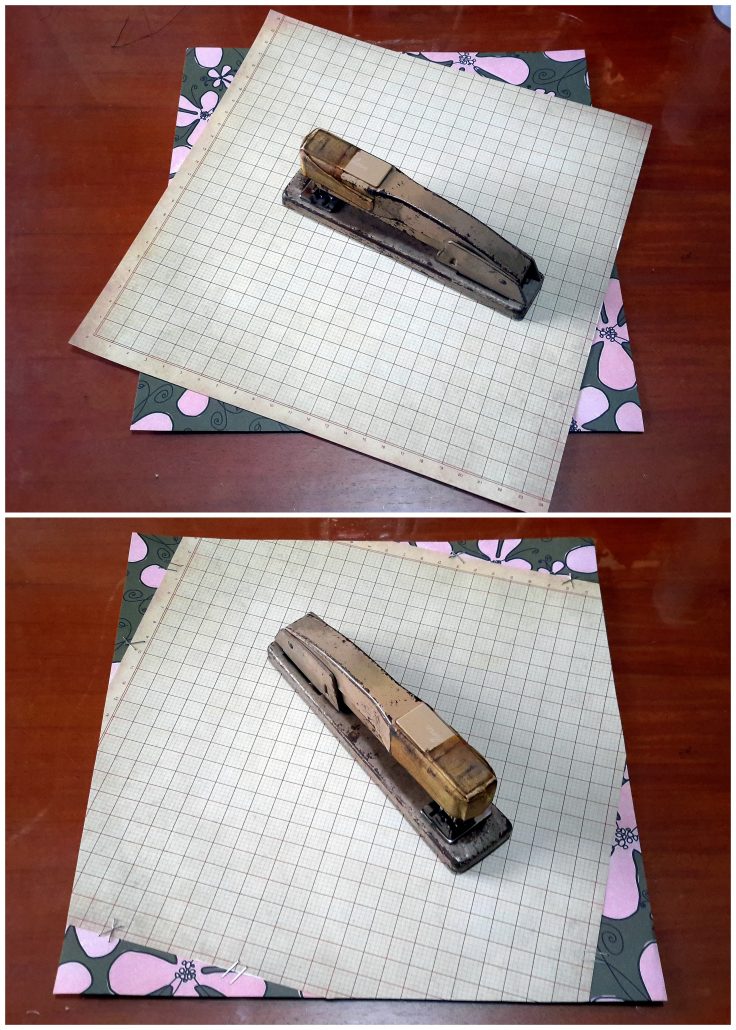
2. Staple 2 pattern papers together with the front slightly skewed.
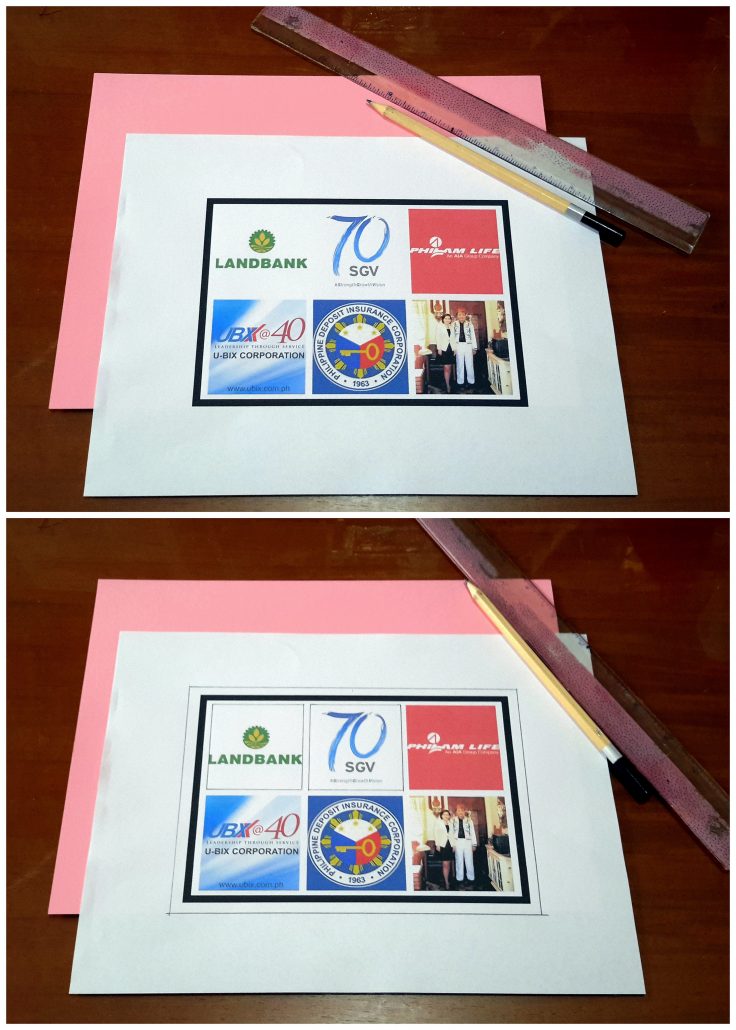
3. Print a collage of company logos you've worked for together with a photo of you / retiree. Line with a pencil along the border of the whole collage and inside, around each logo comprising the collage.
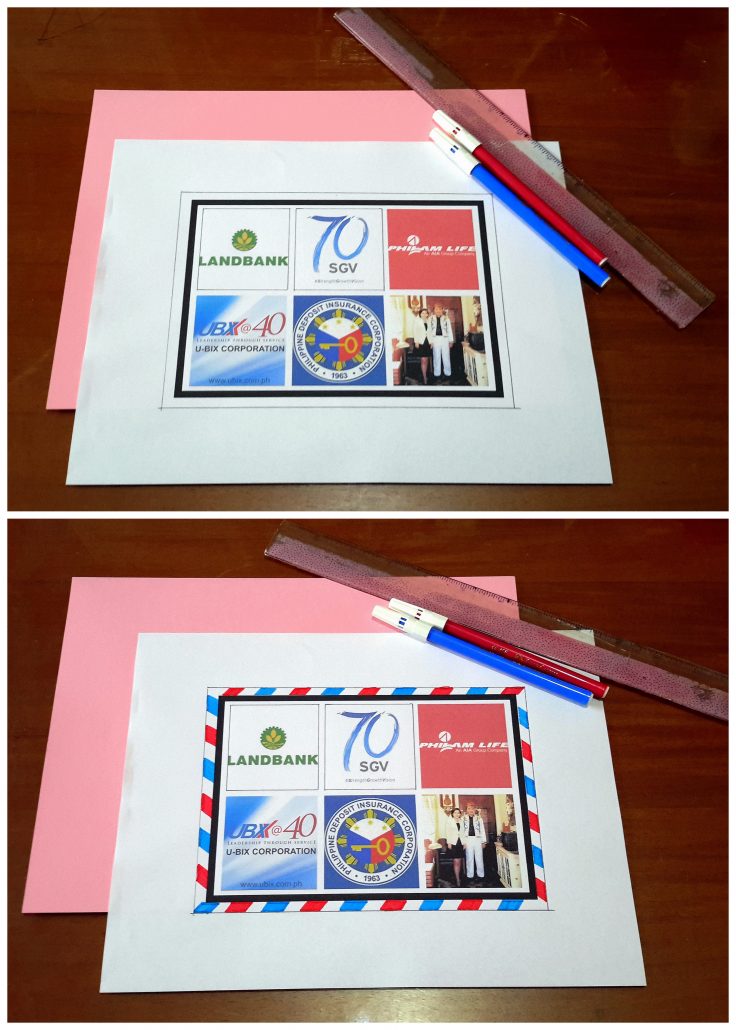
4. Prepare your coloring pens. Color outside the border of your collage in border stripes.
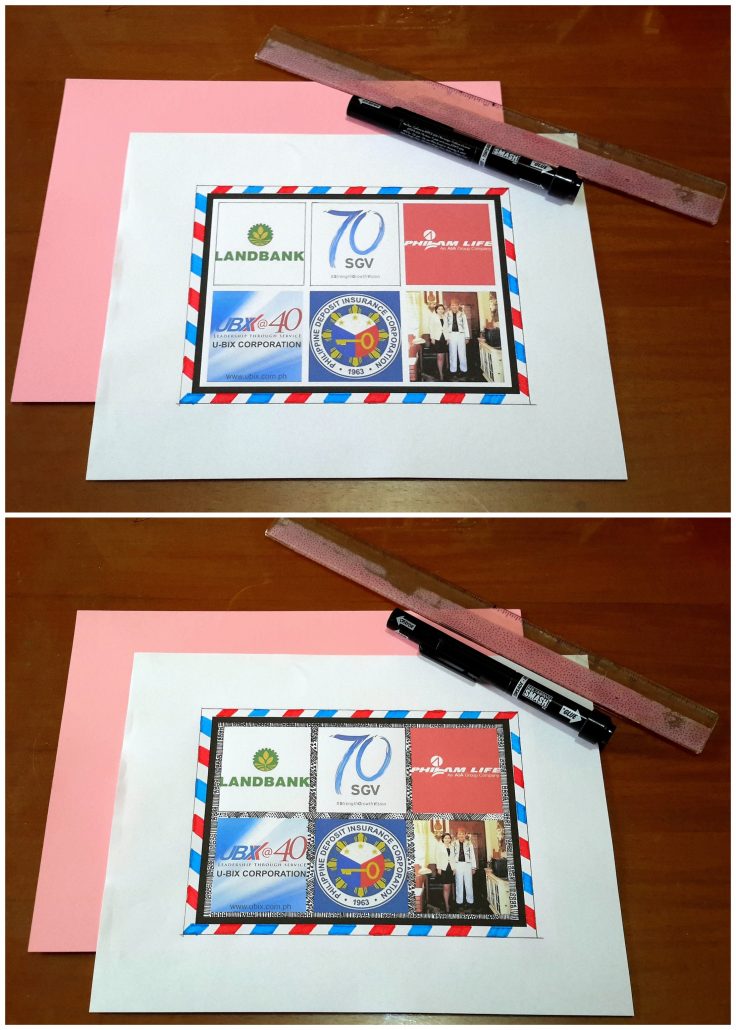
5. Prepare your smash pen. Using your black pen draw a zentangle pattern along the spaces between your pictures to create a great border.
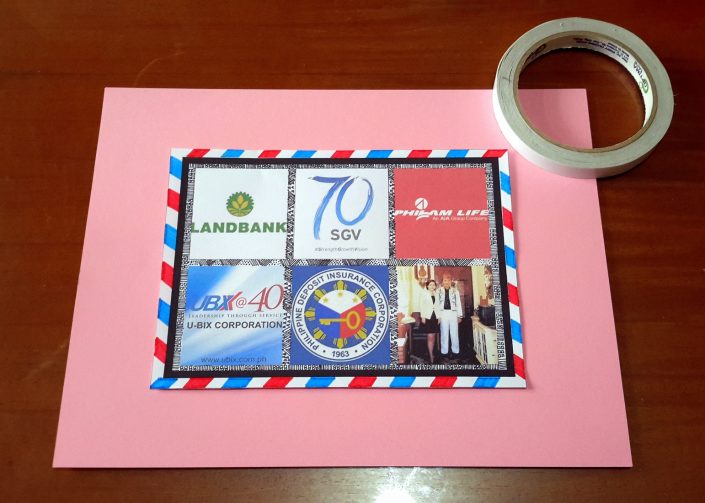
6. Cut the finished work from your white paper. Adhere to a pink cardstock.
7. Prepare your scallop scissors. Scallop cut around your zentangled collage work.
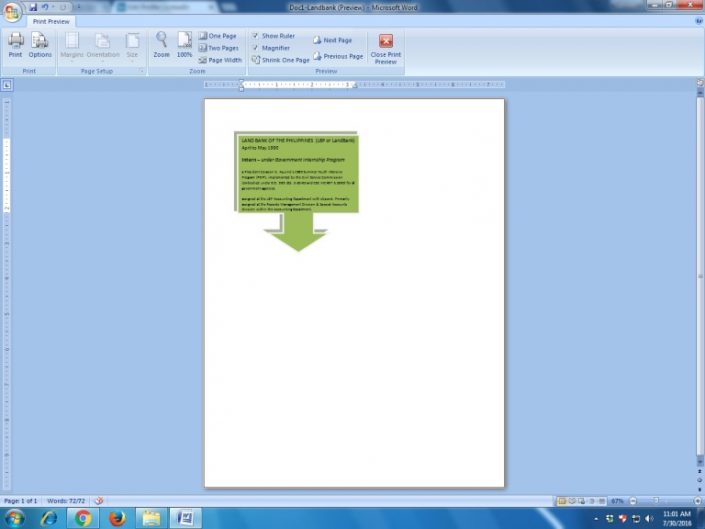
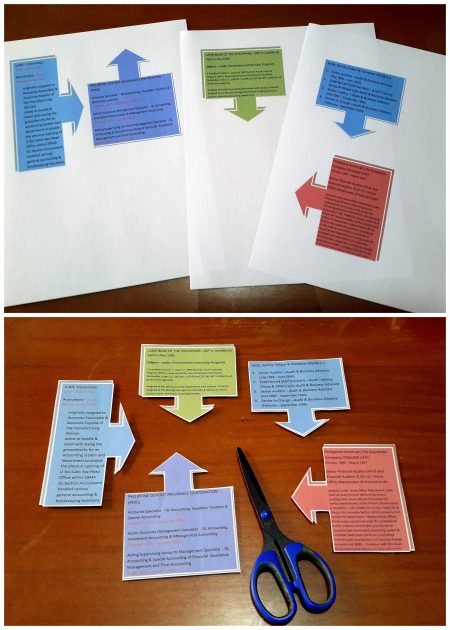
9. Print and cut-out these call-outs. You may want to use special call-outs but in my case, a box-type call-out works just fine.
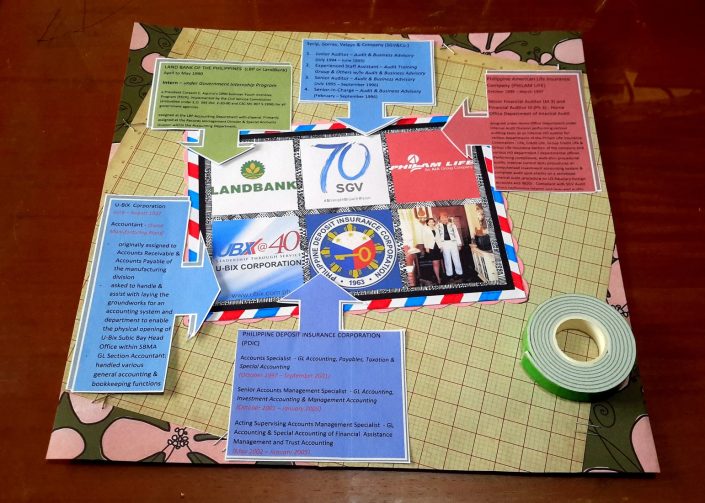
10. Adhere your zentangled collage of company logos and photo to your pattern paper. Position all the call outs and adhere them to your page.
11. Form the layout page title with letter stickers.
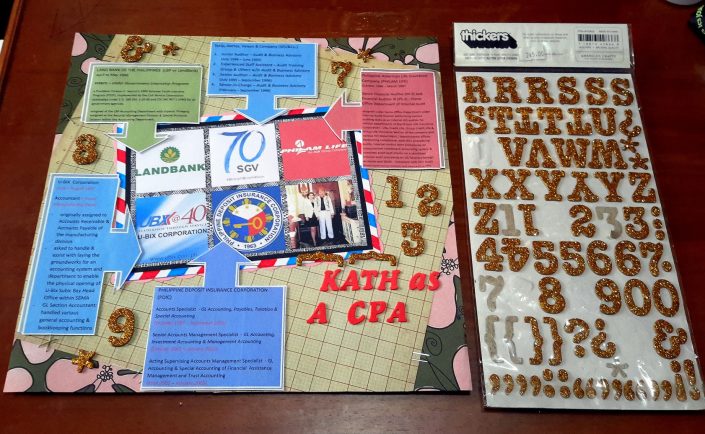
12. Embellish your layout with glitter chipboard numbers.
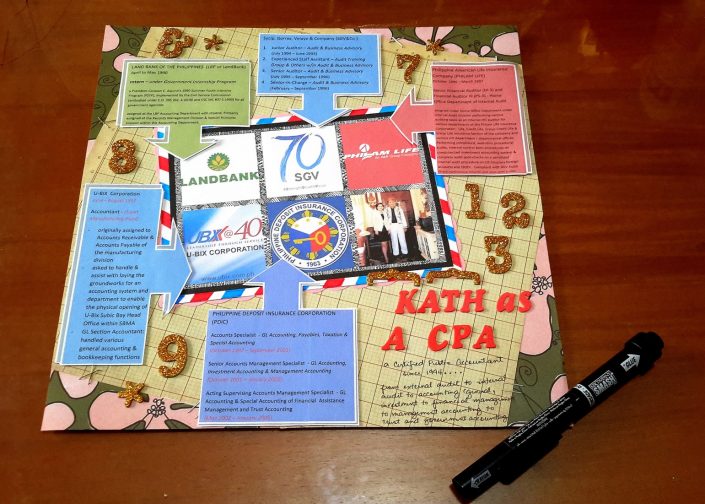
13. Add journaling and watch this first page of your retirement scrapbook album take shape.
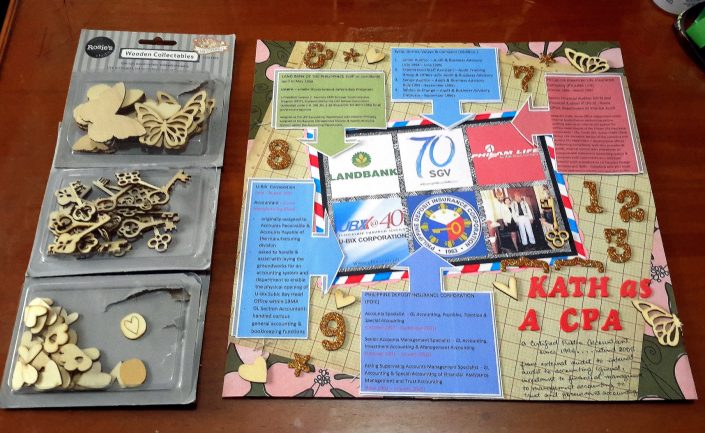
14. Add wooden chipboard embellishments.
You Now Have a Wonderful Scrapbook Retirement Album In The Making!
Layout By Kathleen B. Hernandez
