CREATING YOUR OWN BEAUTIFUL "I'M PREGNANT SCRAPBOOK PAGE!"
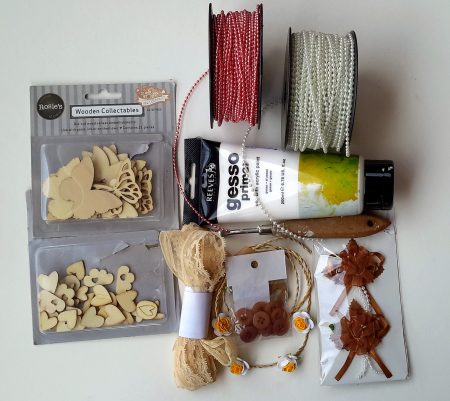
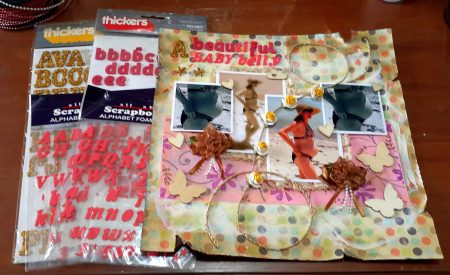
MATERIALS FOR YOUR "I'M PREGNANT SCRAPBOOK PAGE!"
Wait! Once You Have Your Layout Materials Ready, Then You'll Need To Start Working On Your Scrapbook Page....Let Me Show You...
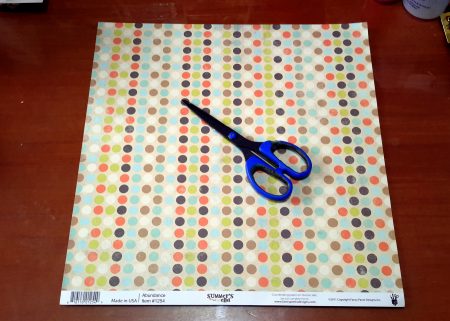
1. Prepare your pattern paper by trimming the unwanted portion with your scissors.
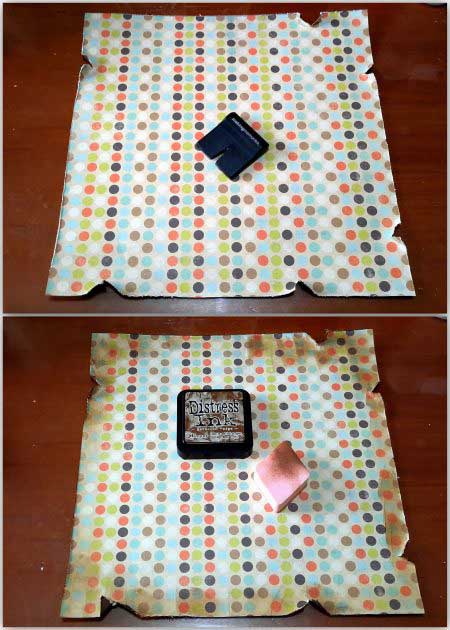
2. Distress your pattern paper with the WRMK distressing tool and ink around the distressed edges.
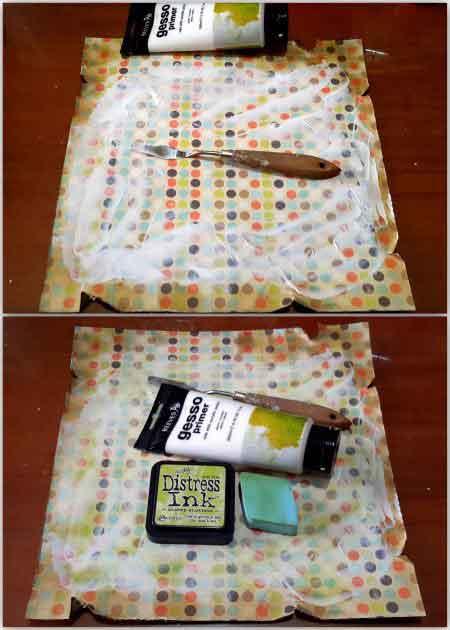
3. Apply gesso. Let dry. Dab ink on top of the gesso. Let dry.
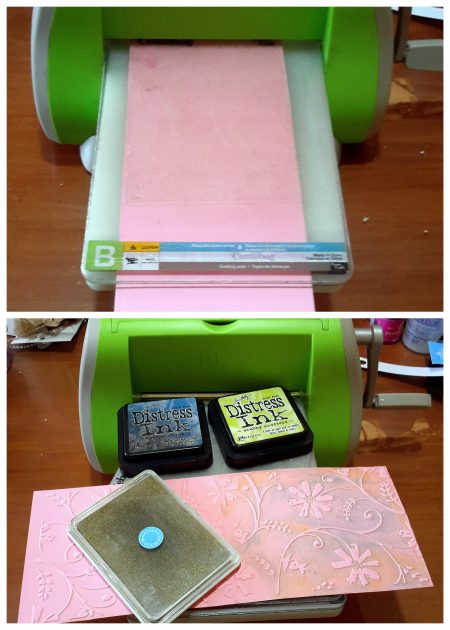
4. Trim or cut your pink board paper into 4×11 size. Set up your Cuttlebug embossing machine. Ink your embossing folder in 3 colors of ink. Emboss your trimmed 4×11 pink board paper. Make 2 passes. Emboss the other end of the board paper. Watch as the ink color gets on the embossed paper.
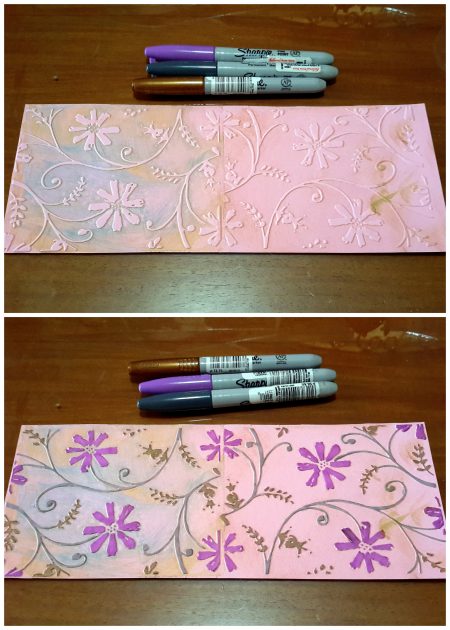
5. Get your Sharpie coloring pens and color or outline the embossed parts. Set aside.
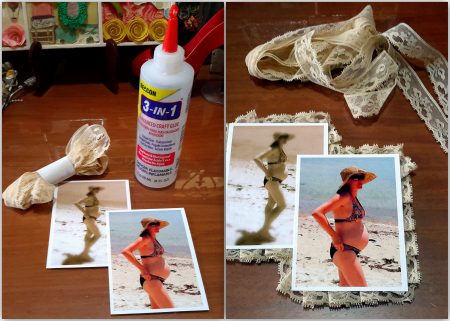
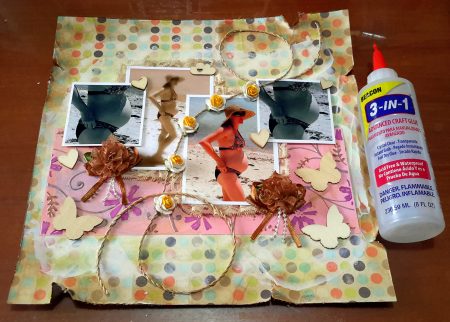
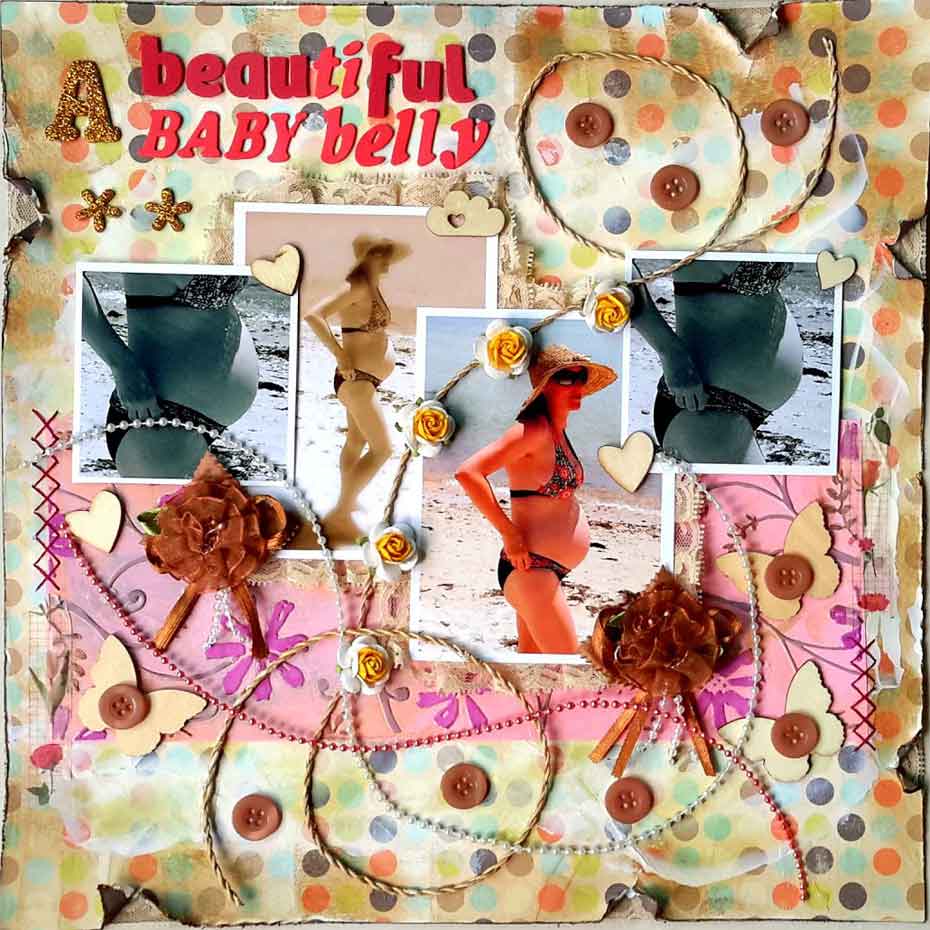
6. Get 2 of the photos of your subject and adhere laces around the photos.
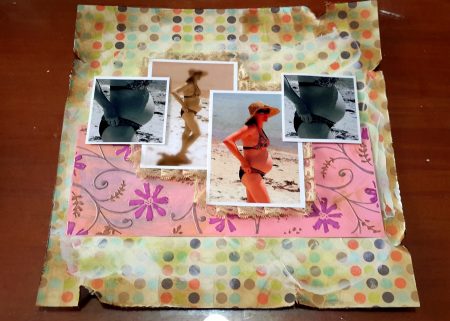
7. Adhere on your pattern paper the colored, inked and embossed board paper together with all 4 photos, 2 of which already adorned with laces.
9. Add the LO title with your letter stickers – A BEAUTIFUL BABY BELLY.
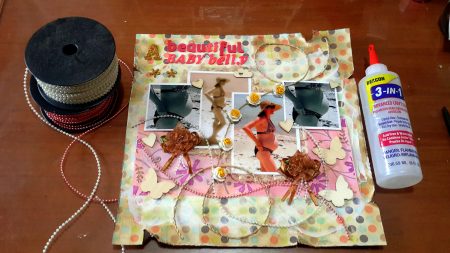
10. Adhere strings of pearls on your layout.
11. Prepare laces with craft paper and buttons. Cut up your craft paper for an enchanting scrapbook page and adhere laces to them. Cut these up into the size and adhere to the back of the torn edge parts of your layout. Make sure the lace is seen with the craft paper as background thru the torn edges of the pattern paper. Next, adhere brown buttons to your layout.
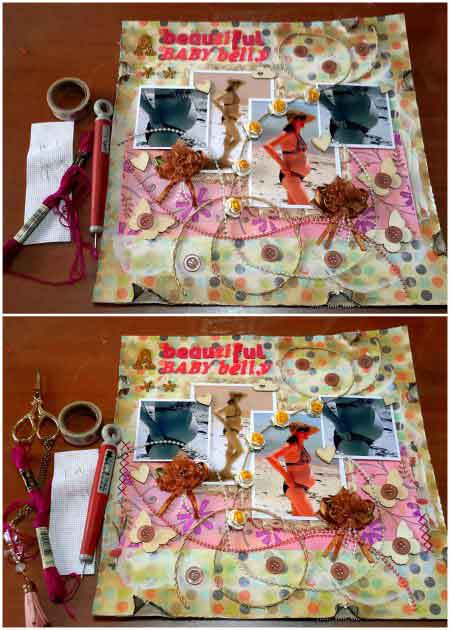
12. As finishing touch to your layout, add washi tape. Then apply stitching on both sides of the embossed board paper.
You now have a wonderful "I'm pregnant scrapbook page" capturing that wonderful moment of rearing a baby, starting with having a wonderful baby belly!