Good day, scrappers! Today I'm going to share you a tip about Gel Press Plate Printing. This is a fantastic and easy scrapbooking technique.
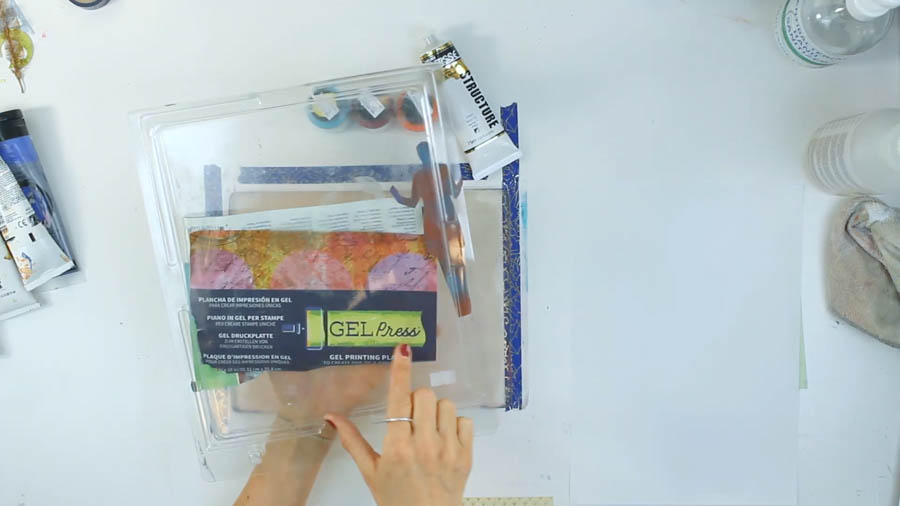
There are a lot of sources online that that can tell you how to create your own gel press plate, but I bought mine from the Gel Plate Print Company—which is a bit of an expense up front but I assure you that the effects that will come out of this gel plate is absolutely amazing!
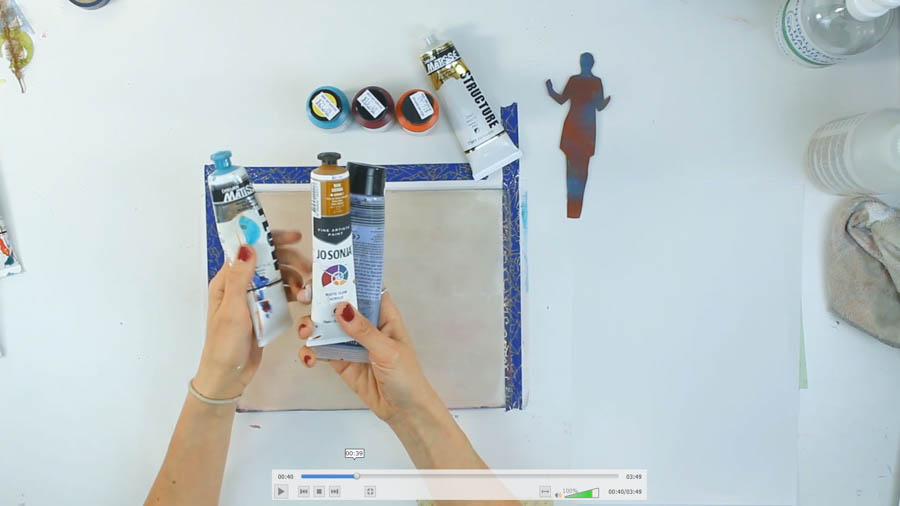
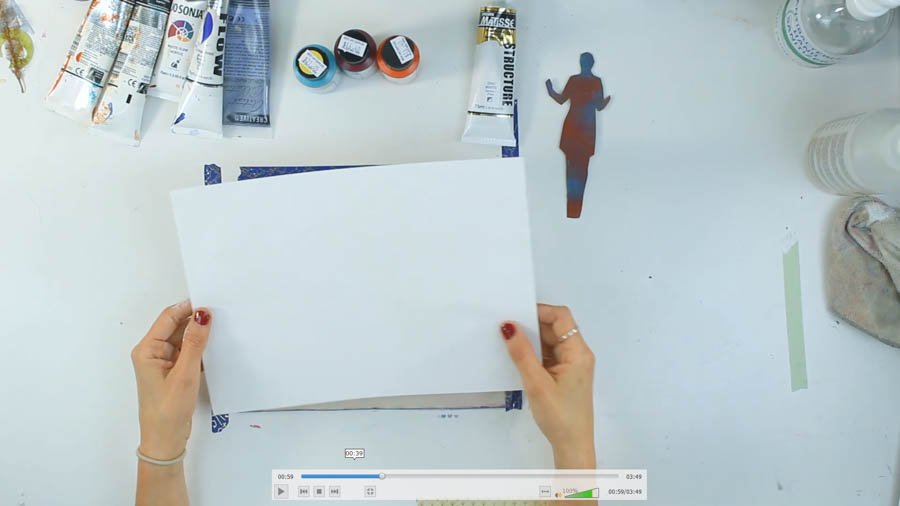
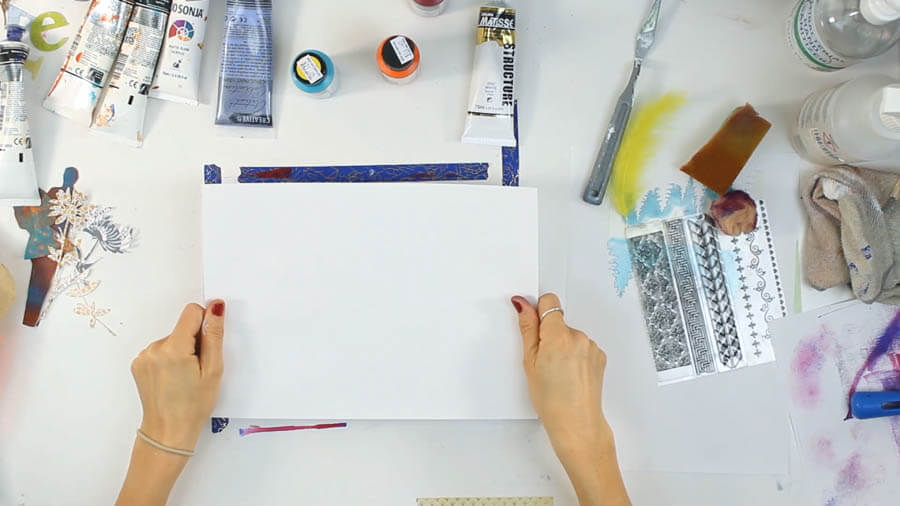
So I've got two sets of paint here: I've got some general acrylic, as well as a free-form/ liquid type of acrylic paint. Now one of the things that I do when I get started is I actually lay an A4 piece of paper down. All of your printing will be done on this print paper.
♥How to get your creative juices flowing again so you'll NEVER experience scrappers block again!
♥How to always have the perfect scrapbook layout for every occasion!
And now to the exciting part! How do we use a gel plate, and what do we use it for? The whole process of gel plate printing is adding texture and color on to the plate and lifting it all into your paper. Basically, a slight reversal of your typical printing, but it comes up really well.
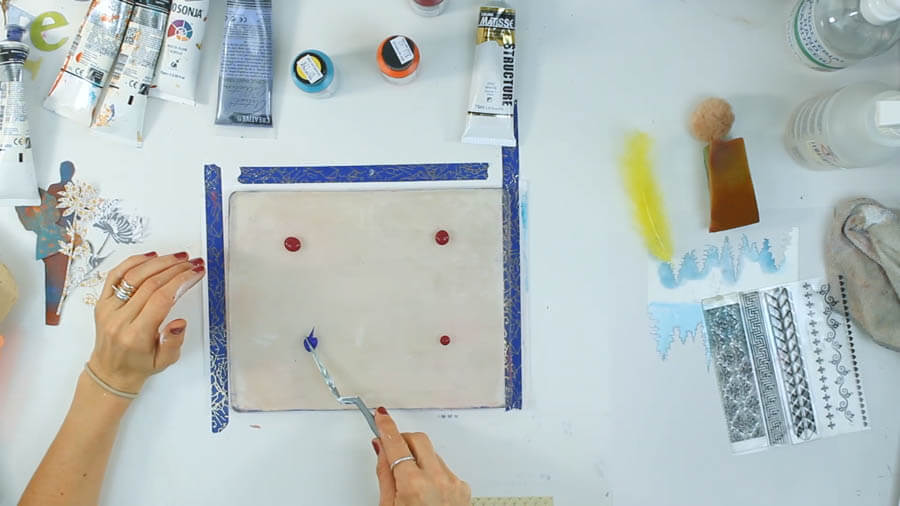
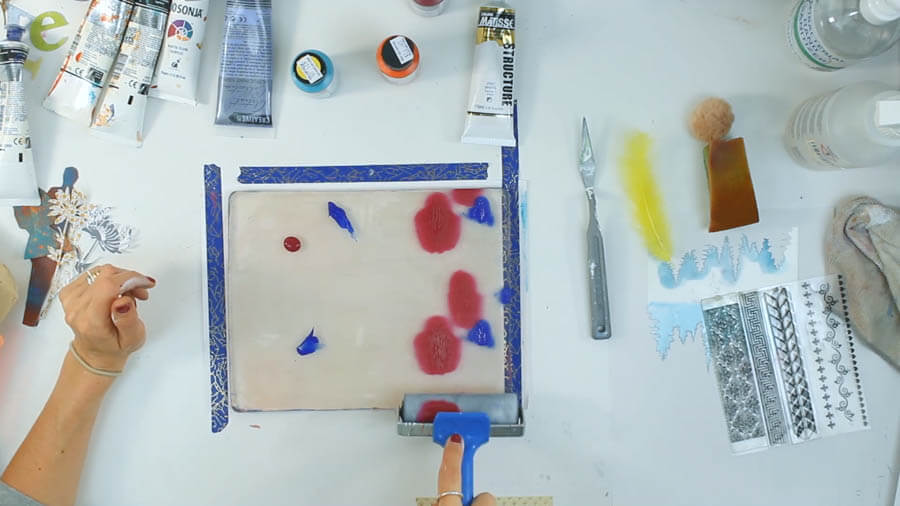
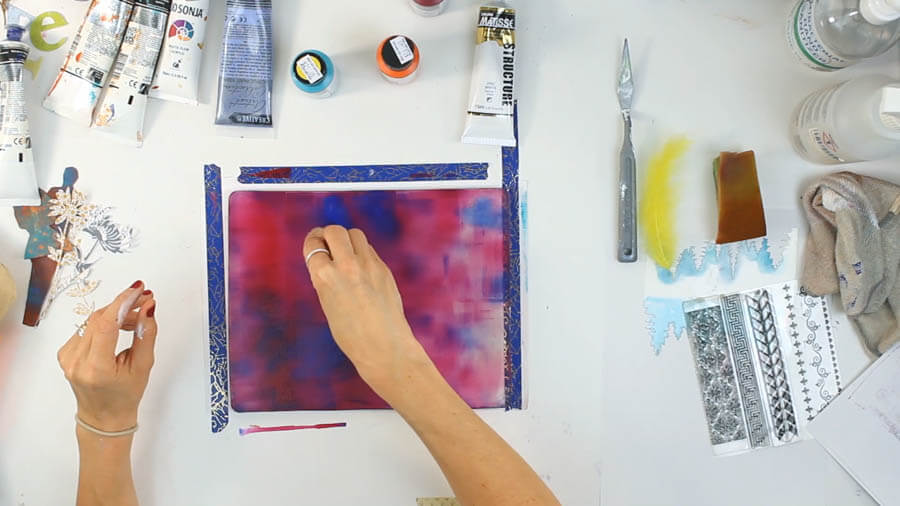
Let's start by doing some single pull prints. I'm going to get started by adding some paint on to the plate. As you can see below, I mixed this beautiful red with the darker blue acrylic.
In terms of what materials you use against the plate, you have to be careful not to destroy the surface in any way. I've ruined mine at a certain point, either by applying alcohol inks (inks of a gel plate is a big NO!).
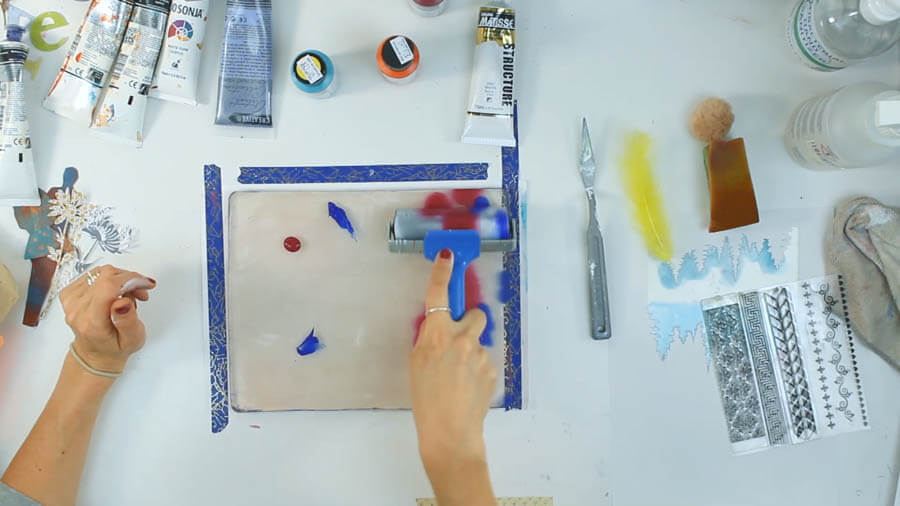
After putting your paint into the plate, spread and mix it all together by using a roller—roll across the plate until the paint has completely blended in together and filled the entire thing. Make sure to prepare a piece of scratch paper on your side and use it to remove the excess paint from your roller as you go.
If you have a thin layer of paint, you have to work a lot faster because it would dry quickly and be hard to pull a print from.
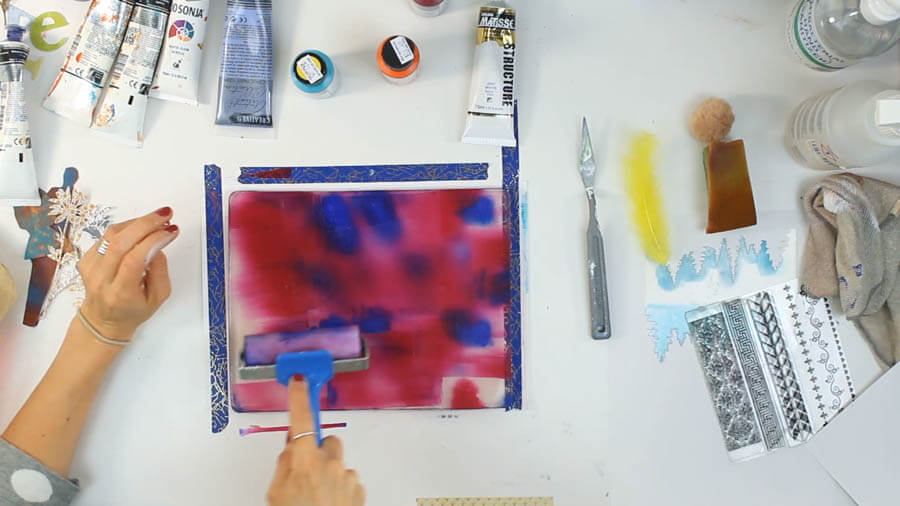
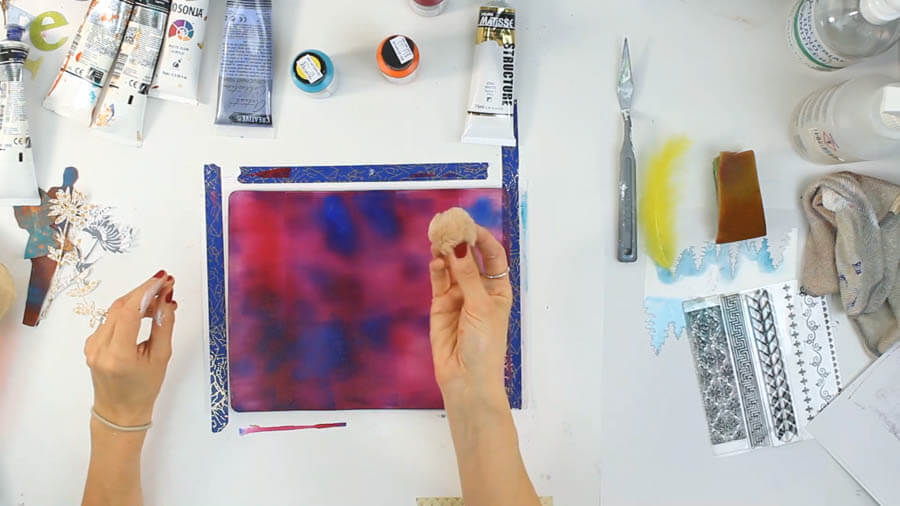
I've got this lovely little ball of fluff, and I'm going to dab it across the plate to create this texture. You have to press pretty hard to get the paint off and make the effect visible.
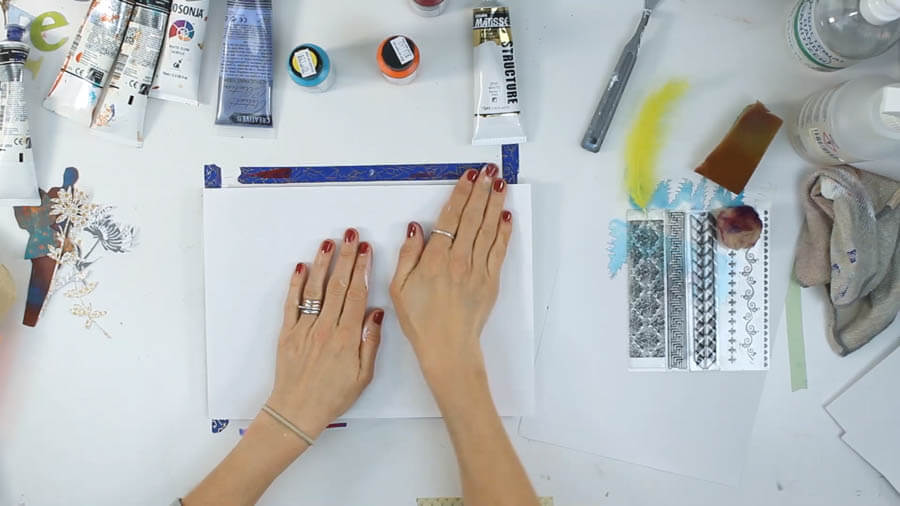
We're almost there! Now to the actual printing! I'm just going to put my paper directly on top of my plate. Gently push down the paper against the plate to pick up all the paint behind. Some use a brayer to do this, but using your hands alone to press down the paper works well enough.
You'll definitely get a feel on how much paint to use and how much pressure to apply when pressing down the print. Gel plate printing is trial and error. I always like to think that one out of ten prints go on the wall, the others get chopped up and used on our scrapbook pages.
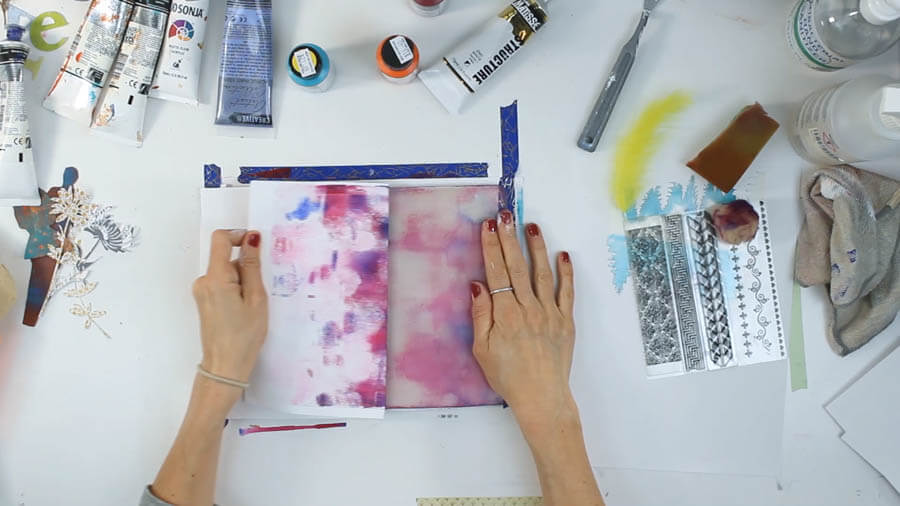
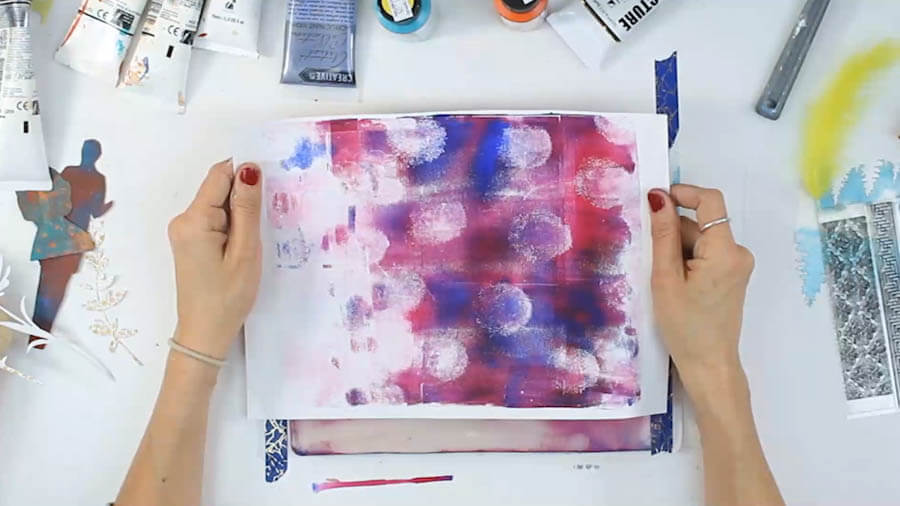
When you're confident that all ink is successfully picked up, slowly peel of the paper from the plate.
Look at that! Although at our first try, the left part of the paper didn't pick up much paint— this still looks absolutely amazing.
This tip about the art of gel plate printing I shared with you is just the first part of many!
Find more inspiration for your scrapping adventures! If you wish to learn more fantastic tricks on how you can use this technique into your scrapbooking system, join our V.I.P. monthly subscriber's video!