Christmas Scrapbook Idea: Amazing Christmas Bauble Layout

Hello and welcome to today's tip! For today's amazing Christmas layout idea, we are going to be making a Christmas bauble layout for our festive holiday!

Watch the Video Tutorial:


Read the Step-by-Step Guide Below:


Step 1

In creating our festive Christmas bauble, I have a circle die here and I've got some cool paper that would look lovely as a page.

I will be using this vibrant blue card stock as my Christmas bauble. You can choose any color you like for your beautiful layout!
Circle Die & Card Stock


Step 2

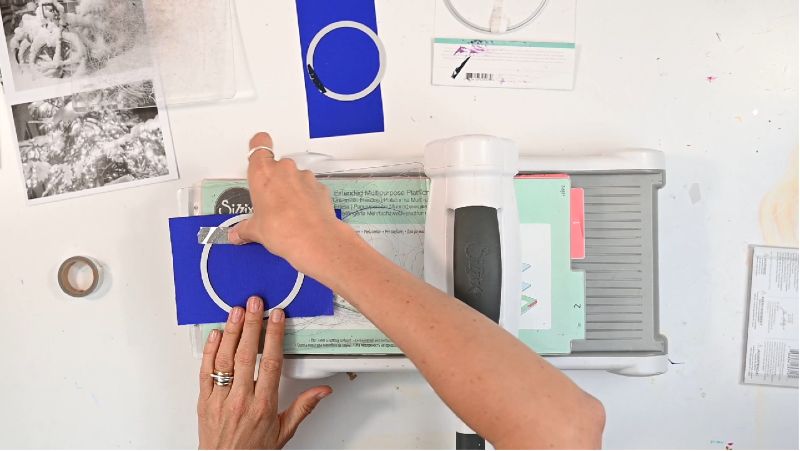
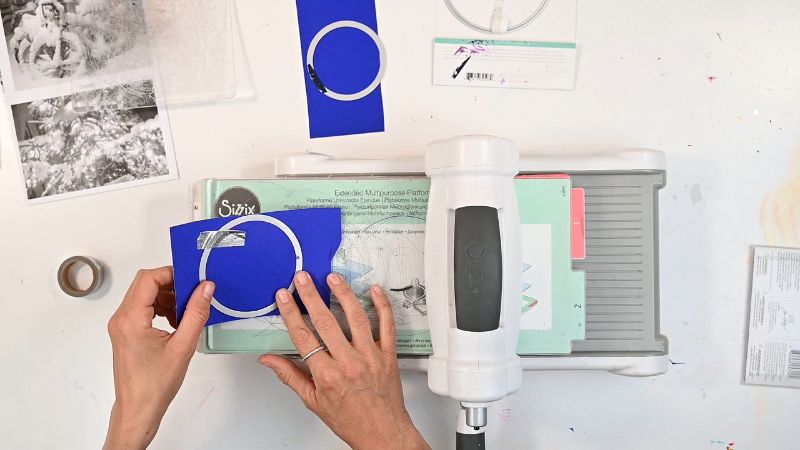
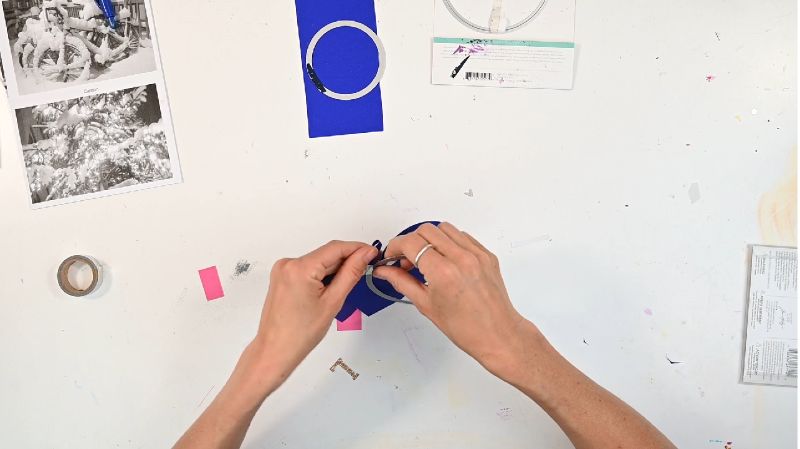
Next, let your die sit perfectly on top of your chosen card stock or piece of paper.

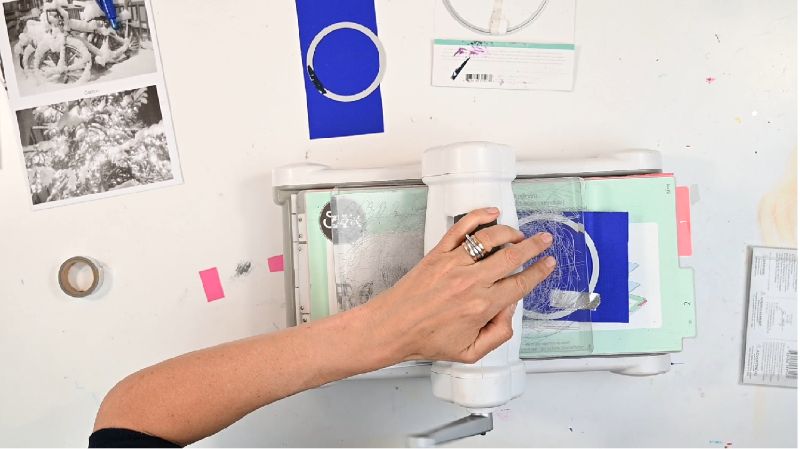
Make sure your circle die covers the entire card stock. You can tape your circle die so that it wouldn't move around once we start cutting our bauble.
Wait! Now That You Have Your Amazing Bauble Embellishment Ready, Then You'll Need To Start Incorporating Them To Your Layout....Let Me Show You...

♥How to START and FINISH a layout to perfection (so no more pushing things around on a page for hours and hours).

♥How to get your creative juices flowing again so you'll NEVER experience scrappers block again!

♥How to always have the perfect scrapbook layout for every occasion!

Circle Die Taping


Step 3

Then what I am going to do is to leave a little bit of section just above my circle die which is going to be the top of the bauble.

It is now time to place your cardstock just right on the edge of your die cutter's plates. This is so that when your plates come together, they will only cut up until the edge of your paper.

Want to learn more amazing Christmas layout ideas? Click here and check out our Layout Ideas Books!
Cardstock Placement
Die Cutting


Step 4

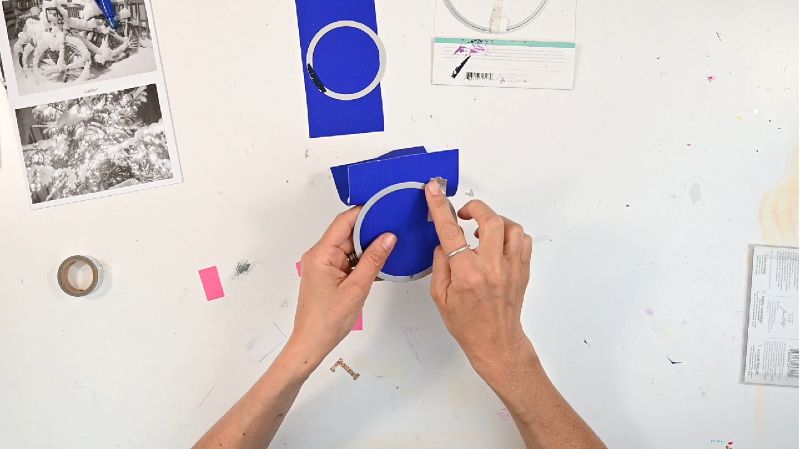
After cutting our card stock, we are left with a circle shape and the edge that we left hanging.

Then after removing the tape and circle die,  we are now left with our card stock that has been cut out. Ready for our next step.
Cutout bauble
Pulling Circle Die off


Step 5

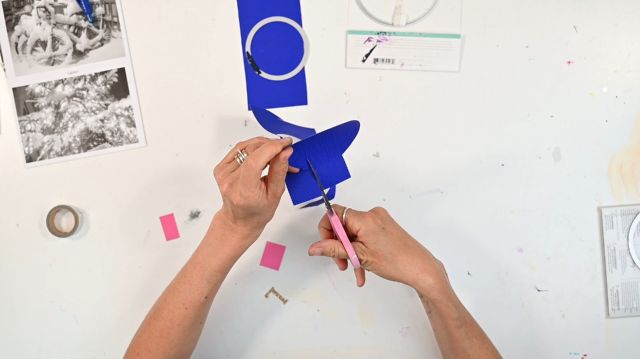
We can now start cutting out the section that we have left hanging earlier. Carefully, cut two slits down to form the shape of the top of a Christmas bauble.
Shaping
Bauble Cutout


Step 6

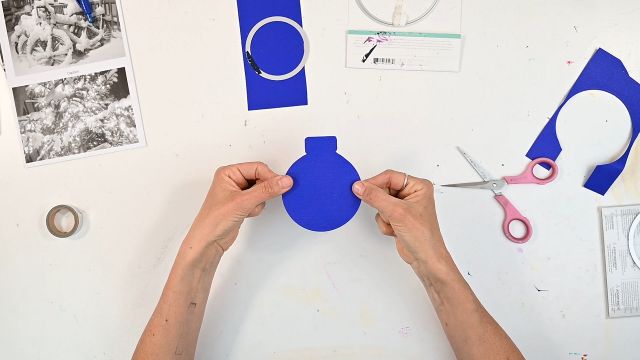
And there it is! You are now left with an amazing shape that almost looks like a Christmas bauble! 

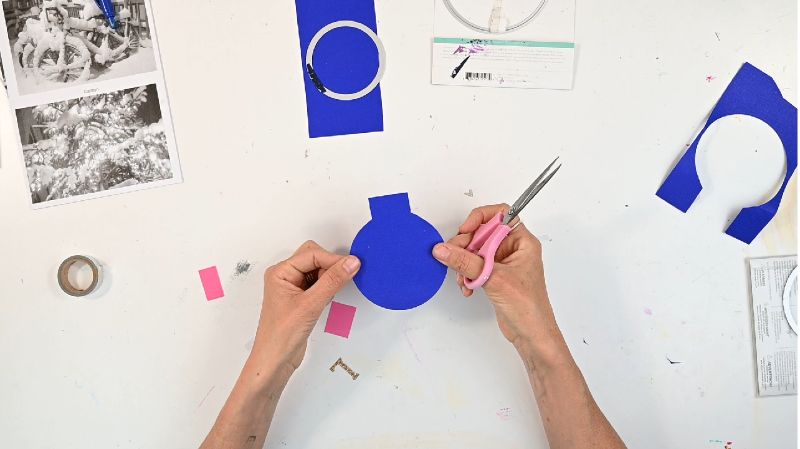
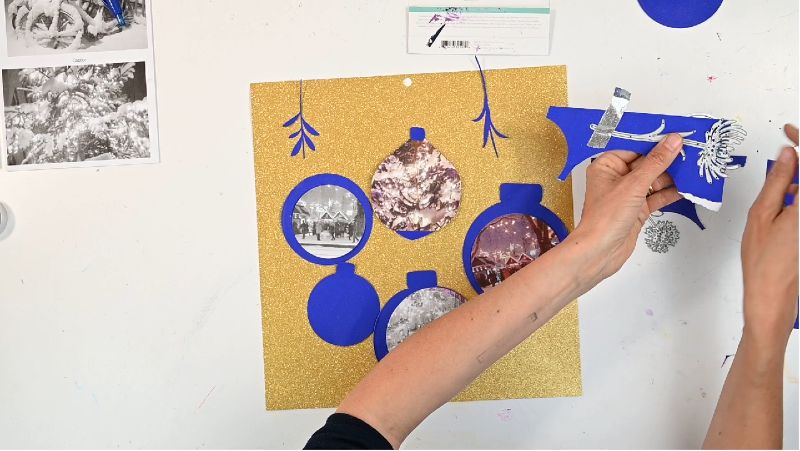
Since I want to give off the effect that my Christmas bauble is rounded on my scrapbook, all I'm going to do is to soften off the edges of the top of my Christmas bauble. This will look fantastic with its smooth and round effect!
Rounded Bauble


Step 7

Now, the second thing that I've done is make the top of my bauble by using my pretty looking wildflower Thinlits I have here with me.

You can use any shape that you think would fit as the top of your bauble.
String


Step 8

There you have it! We now completed our beautiful-looking Christmas bauble ready for our layout!

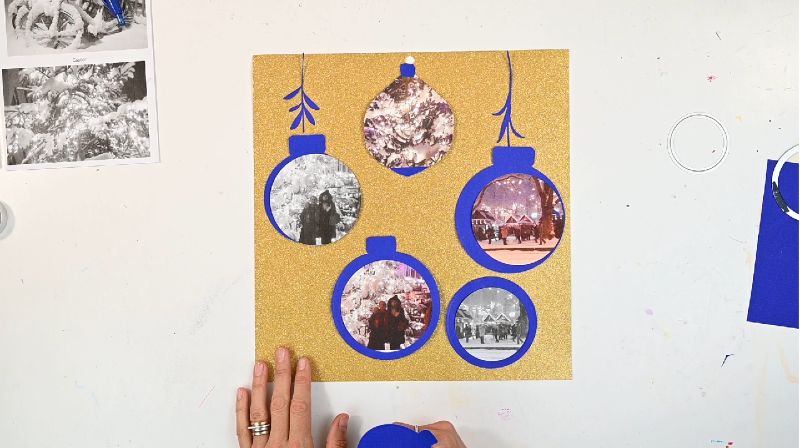
We can then add our beautiful Christmas baubles and string to our scrapbook page layout!
Finished Product
Great! You can start adding your wonderful photos to your Christmas bauble layout page on your scrapbook!

That's it for our Christmas bauble layout design tip! I hope you enjoyed it and I hope you have a lovely Christmas! We have more tips on their way to you, see you next time!
Loading...
OUR BEST SELLING BOOKS
HERE'S SOME OTHER SCRAPBOOKING ARTICLES THAT YOU MAY FIND HELPFUL
The Top 5 Scrapbooking Tools That Are Proven To Help You Create Better Layouts
 
12×12 Scrapbook Layouts Tips You Should Never Miss!
 
5 Tips To Creating Catchy Scrapbook Titles For Your Layouts
 
TOP 5 Scrapbooking Ideas I LOVE!
How to Scrapbook: The Ultimate 'Learning How to Scrapbook for Beginners'
 
Scrapbooking Tips: 10 Tips To Help You Create Even More Enchanting Pages!
 
 
Scrapbook Stores Online: Shop from the Top 7 Best Craft Stores
Copyright © 2023 by ScrapbookingCoach.com
We accept payment with: