A Beautiful Disney Scrapbook Layout
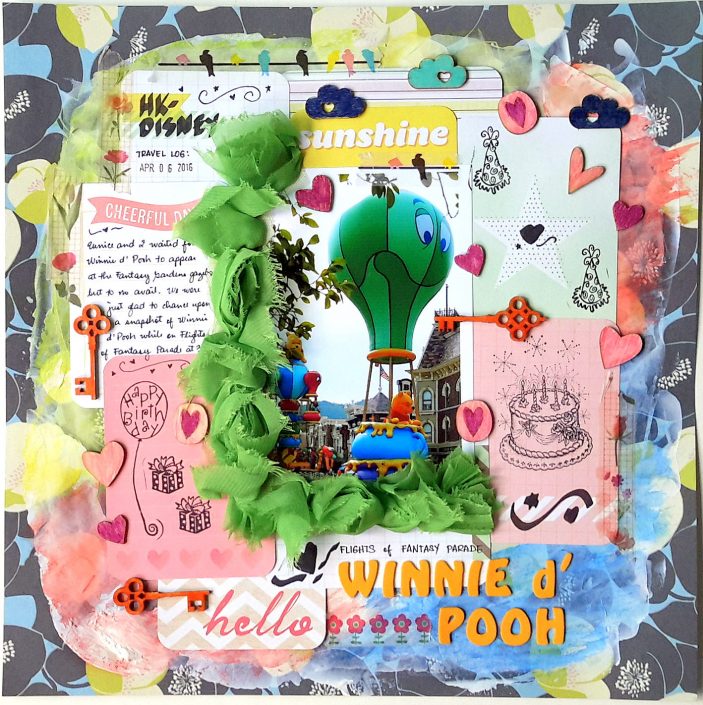
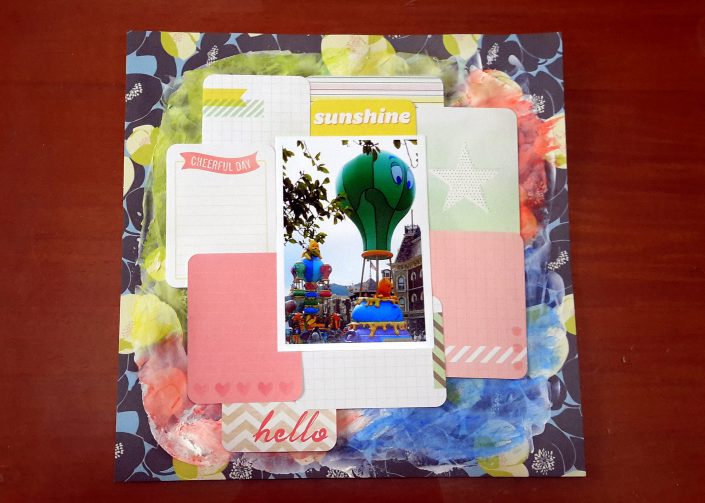
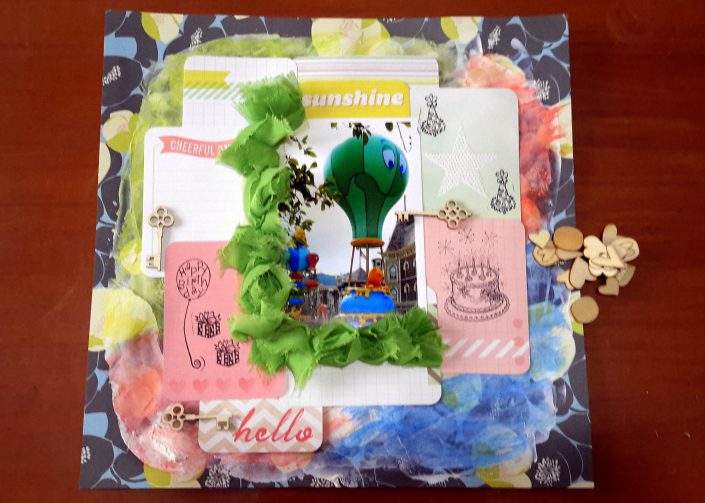
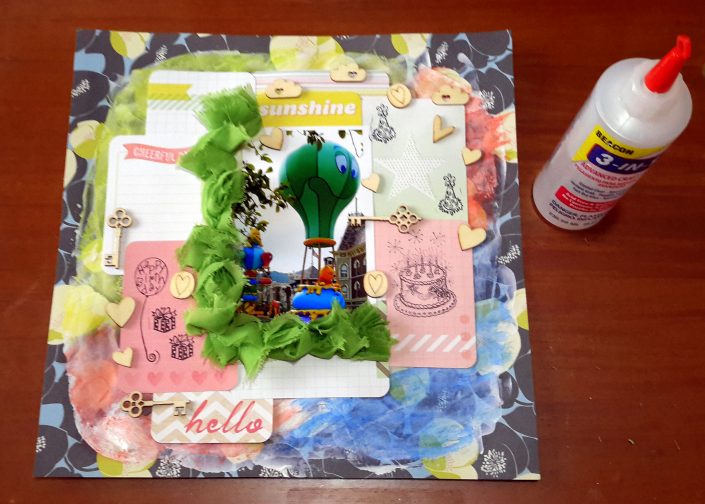
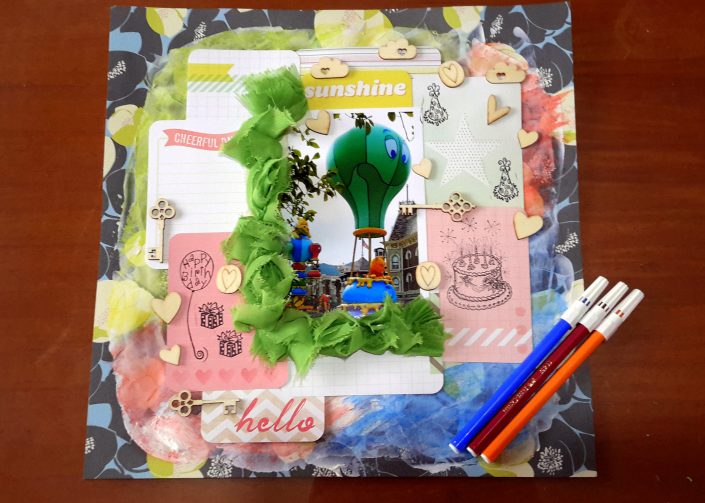
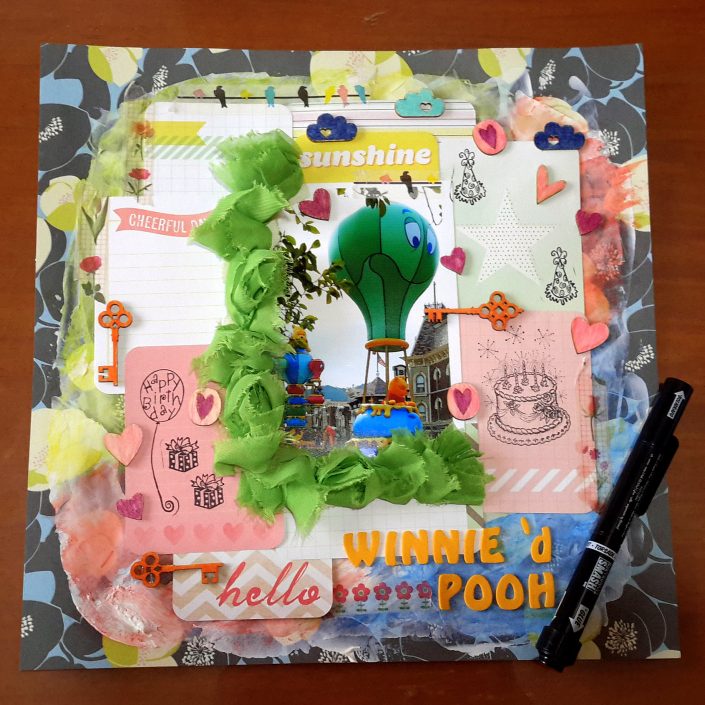
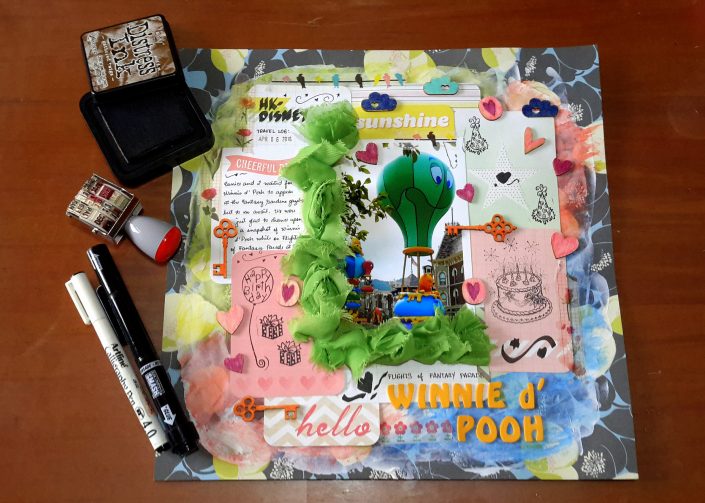
It's great to plan a summer getaway, but when you're going to Disneyland, planning your trip is barely effective. With a ton of rides, kiosks, and shops to visit, you just can't plan any of the fun-filled memories you're going to get from Disneyland. So, in this Disney-themed
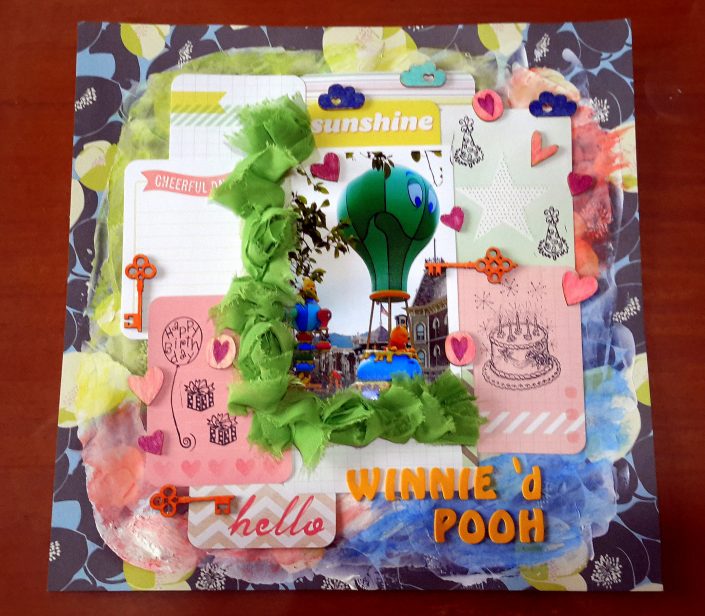
 scrapbook, I smash booked it. So, how better to capture such a moment than to create a magical scrapbook page of our vacation with Winnie The Pooh front (I'm sorry Mickey Mouse!) and center!
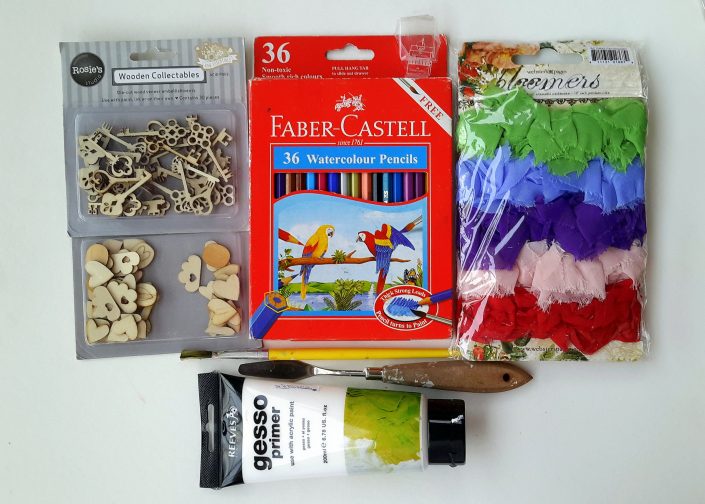
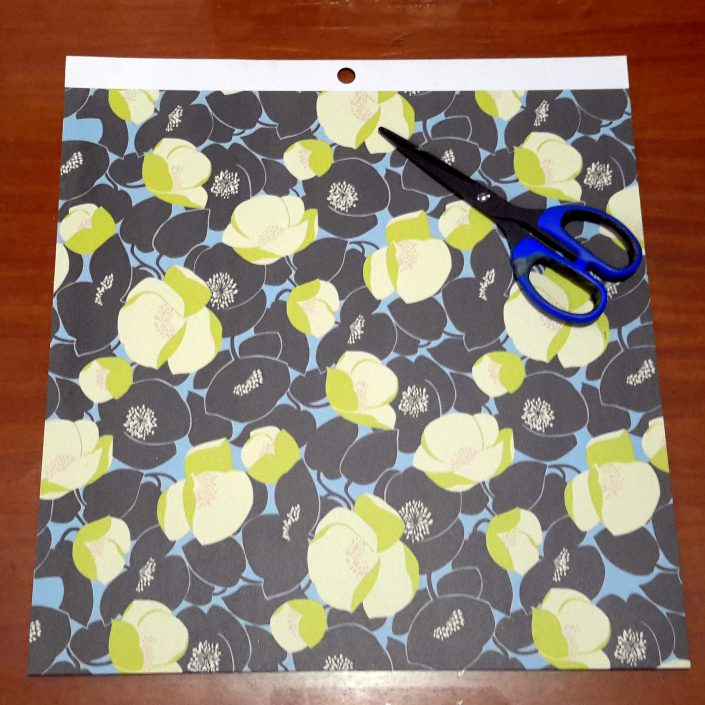
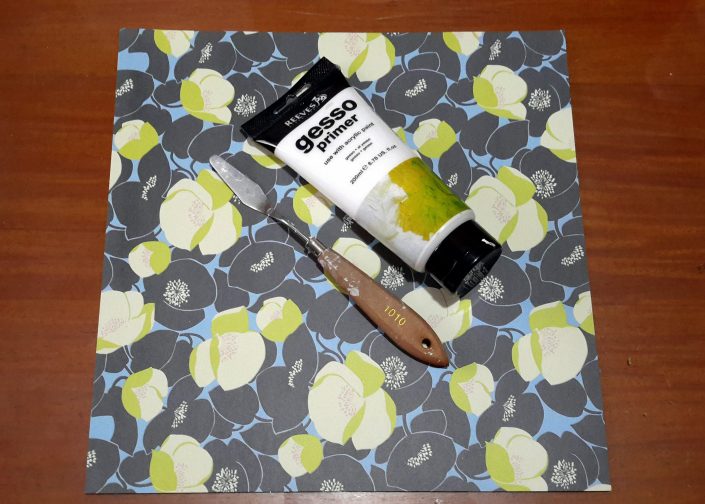
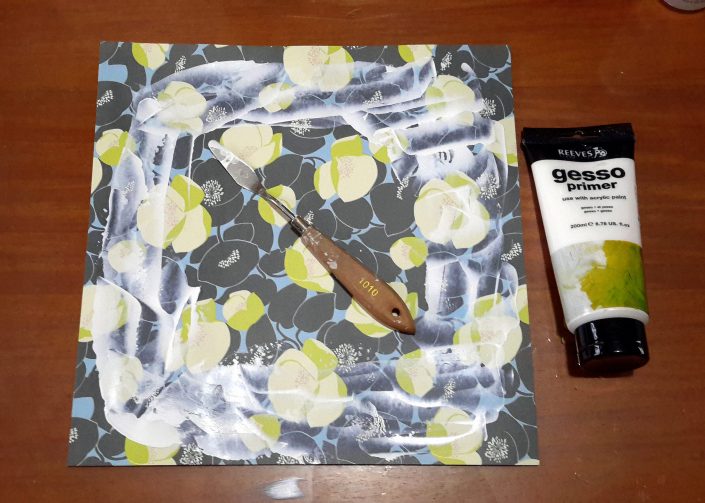
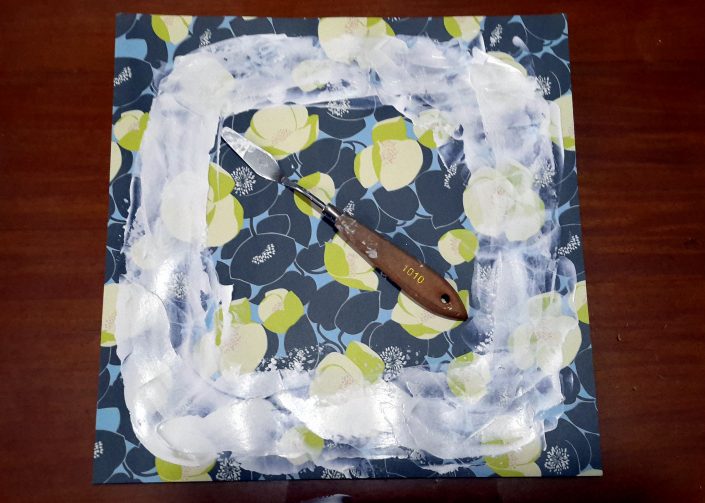
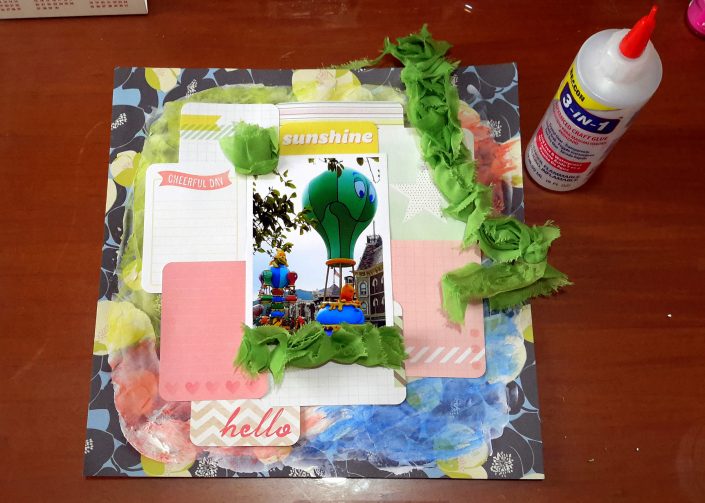
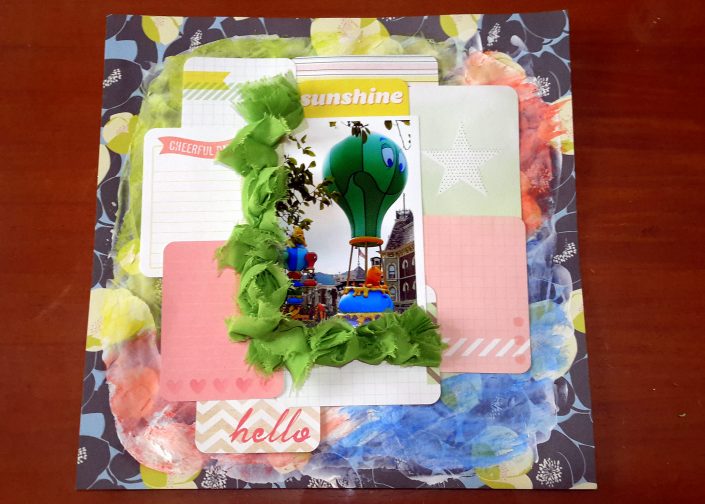
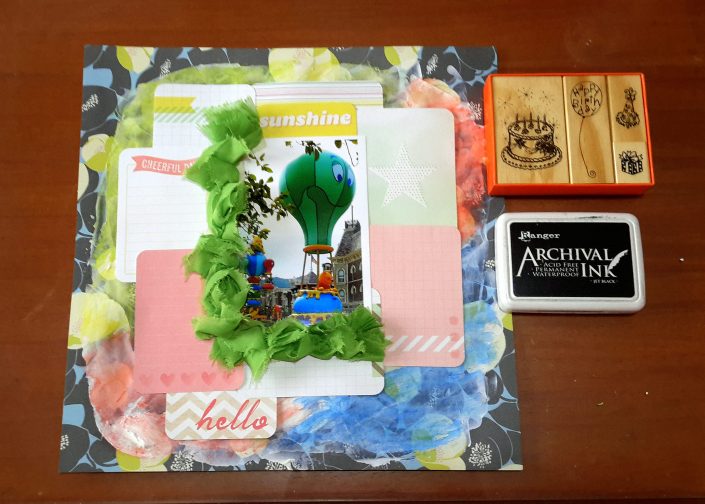
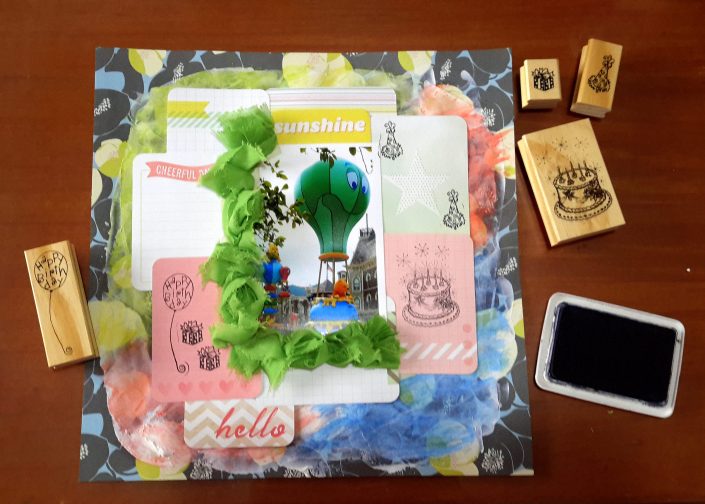
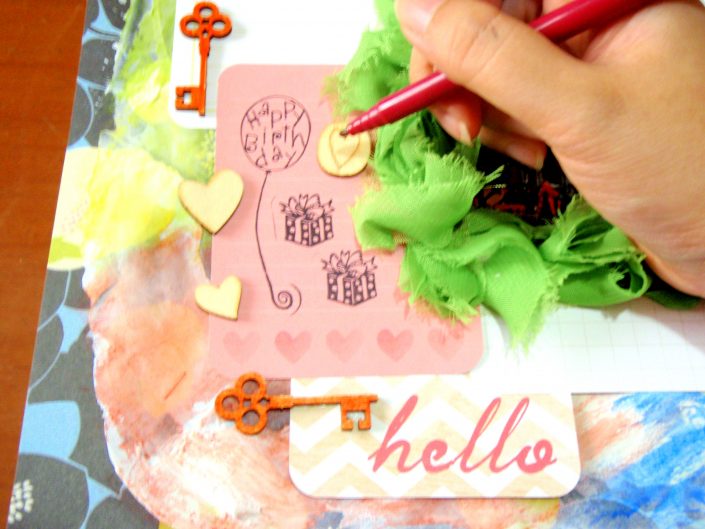
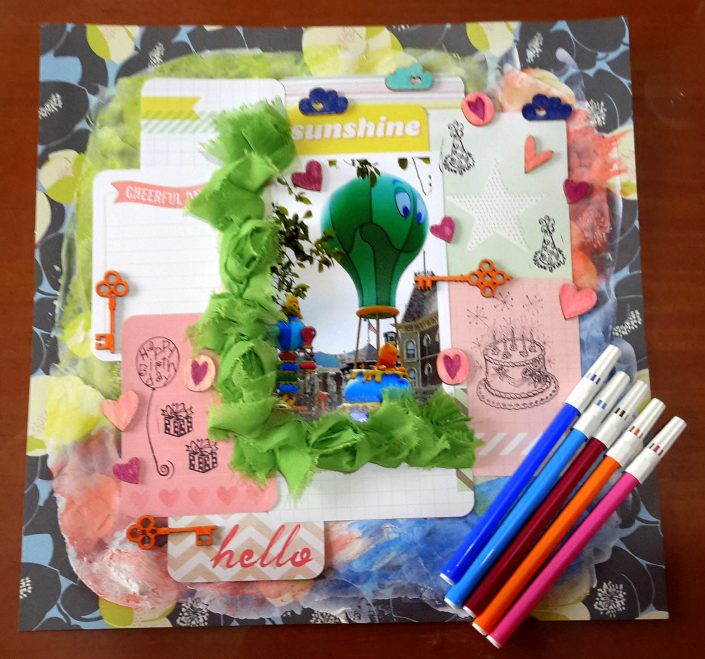
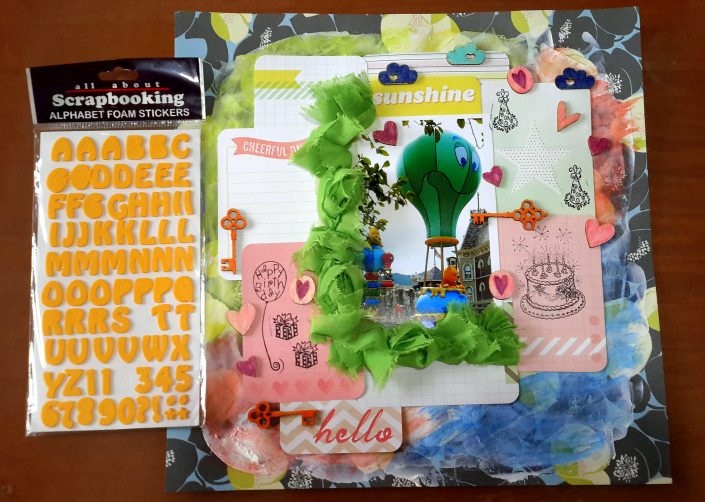
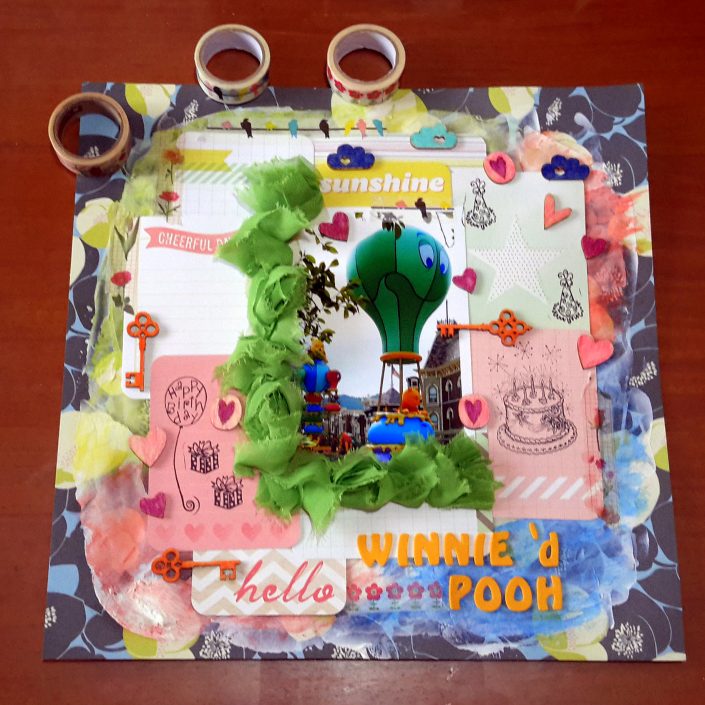
I smash booked my way in creating this 12×12 Disney-themed scrapbook page. With smash pens, journal cards, wooden stamps, and artist's medium, I created this layout done in smash booking technique.
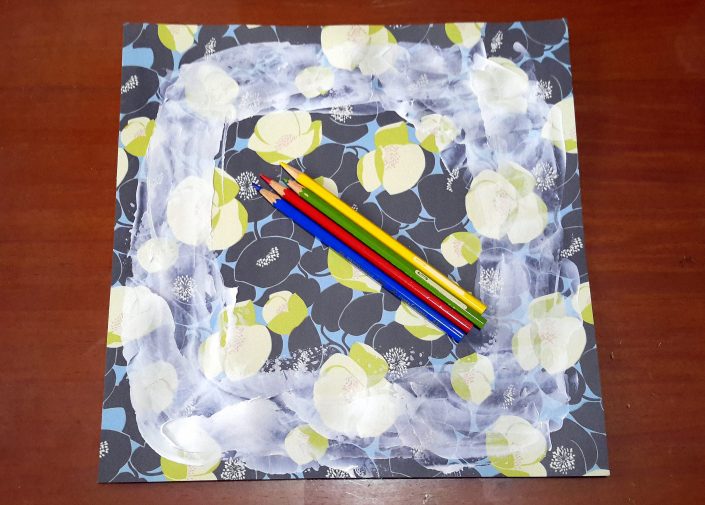
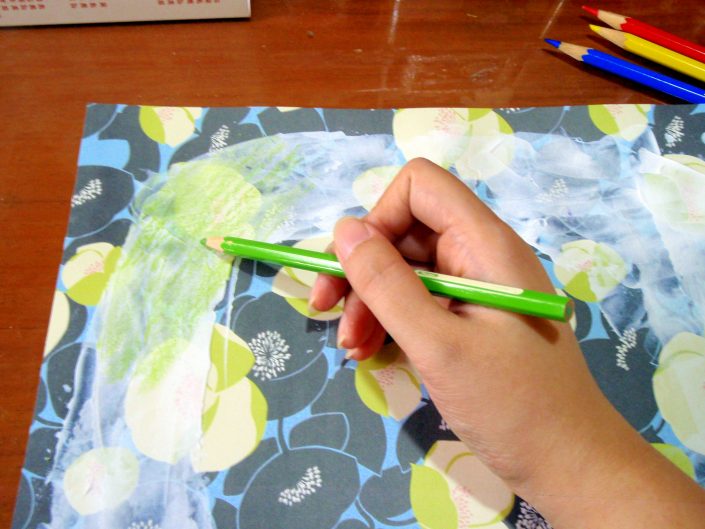
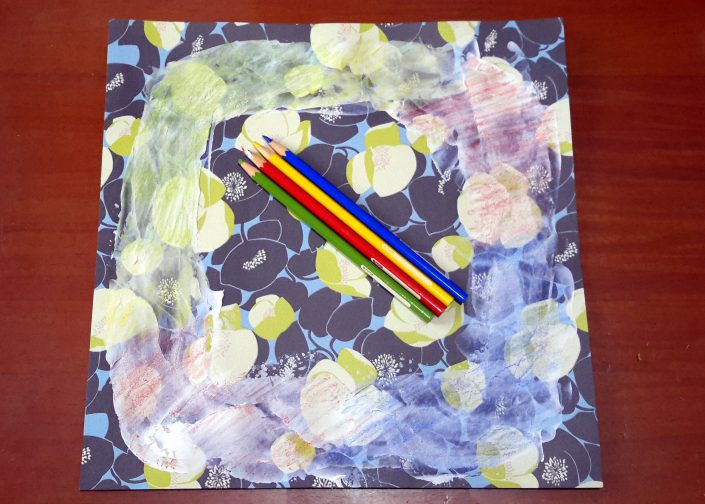
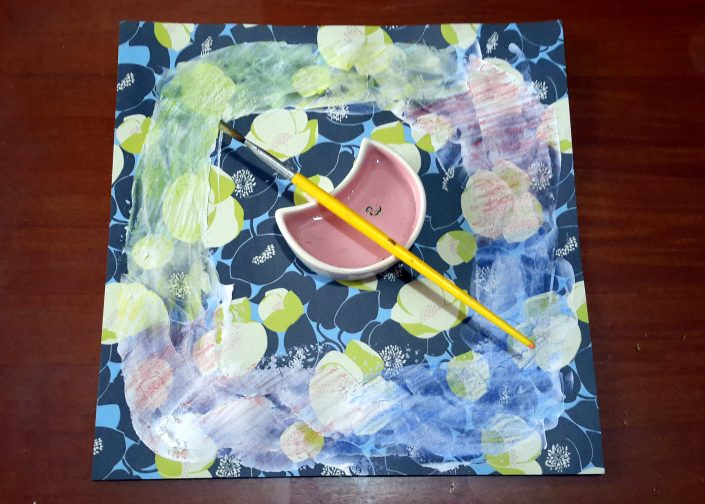
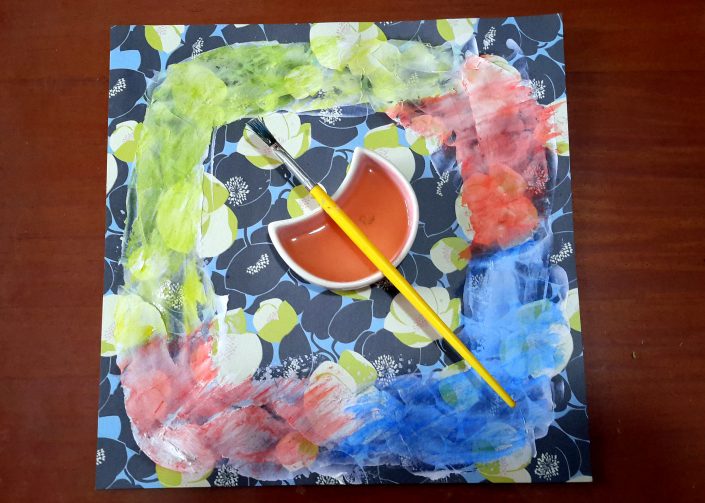
What joy to play with watercolor pencils and pens on your Disney scrapbooking layout while creating a painted background. With all the fun and adventure, it was hard to start scrapping. So, what I did here is putting together some of the items I got from Disneyland.
Let me show you these fresh scrapbooking ideas so you can be inspired!
Supplies and Materials For Your Disney Scrapbook Page
♥ Pattern Paper
♥ Becky Higgins Dear Lizzy Project Life
♥ Fillers / Journal Cards (American Crafts)
♥ Blooms (Webster Pages) – PHOTO #1
♥ Wooden Chipboard Embellishments (Rosie's Studio) – PHOTO #1
♥ Foam Letter Stickers (All About Scrapbooking)
♥ Washi Tapes
♥ Watercolor Pencils (Faber Castell) – PHOTO #1
♥ Gesso (Reeves) – PHOTO #1
♥ Coloring Pens (Faber Castell)
♥ Journaling Smash Pen (K&Company)
♥ Calligraphy Pen (Artline)
♥ Inks (Ranger)
♥ Wooden Stamps
Preparing your Magical Background
1. Prepare your pattern paper by trimming the unwanted portion with your scissors. In this case, I don't need the top portion of the paper to put in my album.
2. Use your gesso and spatula/palette knife.
3. Apply the first coating of Gesso all around your pattern paper. And then, let it dry.
4. The first layer will appear more transparent, so you may need to put more Gesso on your page to make a darker and more embossed effect.
6. Color over the dried gesso with an assortment of colors using your watercolor pencil.
7. Make sure that you color over the page with your watercolor supplies to help bring out a nice hue.
8. Prepare your paintbrush and clean water.
9. Lightly dab your paintbrush in water and paint over the watercolor pencil to bring out a magical color. Once you're happy with the way the color spreads, let it dry.
10. Use Project Life Fillers or any journal cards of your choice and let them out together with your photo. Adhere them to this Disney themed page once you're pleased with the way it looks.
11. I chose an array of blooming colors. Instead of the typical Mickey Mouse Disney characters and settle for the Winnie the Pooh-inspired ride.
12. Start scrapbooking and adhere blooms around your photo.
13. You may also use your stamping ink and wooden stamps for more magic.
14. Stamp on your journal cards with your choice of the wooden stamp design.
15. Find and put on your wooden chipboard embellishments.
16. Adhere your wooden chipboard embellishments on your layout.
17. Choose your colored pens in colors complimenting your layout.
18. Use your colored pens to color your wooden chipboard embellishments.
19. Color all or the rest of your wooden chipboard embellishments with your pens.
20. Get your letter stickers. Choose the brightly colored set of letter stickers.
21. Use your letter stickers to create the LO Title – Winnie D' Pooh
23. Get your journaling smash pen.
24. Add journaling. Using a little bit of calligraphy to add the sub-title – HK-Disney. Draw hearts, swirls and doodle some more.