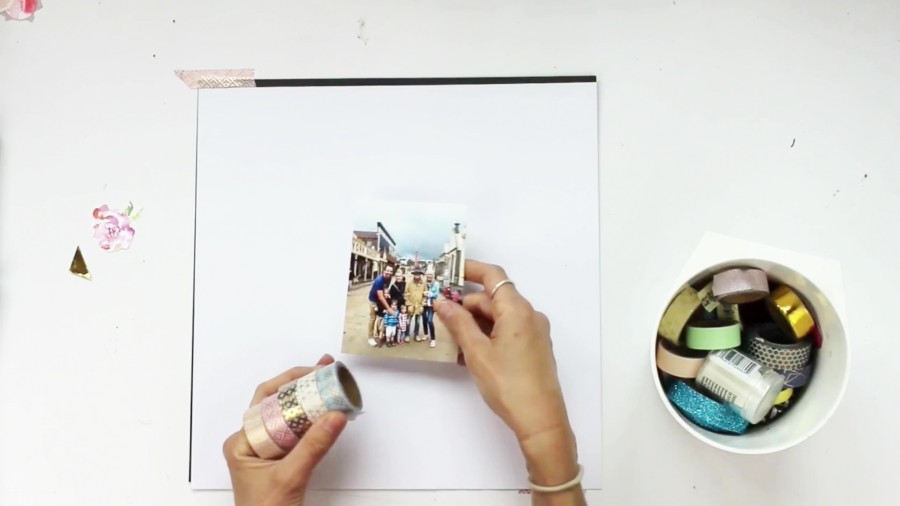
What's better than store-bought embellishments? DIY scrapbook embellishments, of course! Let's make beautiful hanging hearts for your page!
For this layout, I used different selections of washi tapes to match the color of my photo. I also used small heart and round punchers but if you don't have any punchers, you can easily cut out a heart and round shape using scissors.
Want to learn more creative embellishment ideas? Click here and check out our Layout Ideas Books!
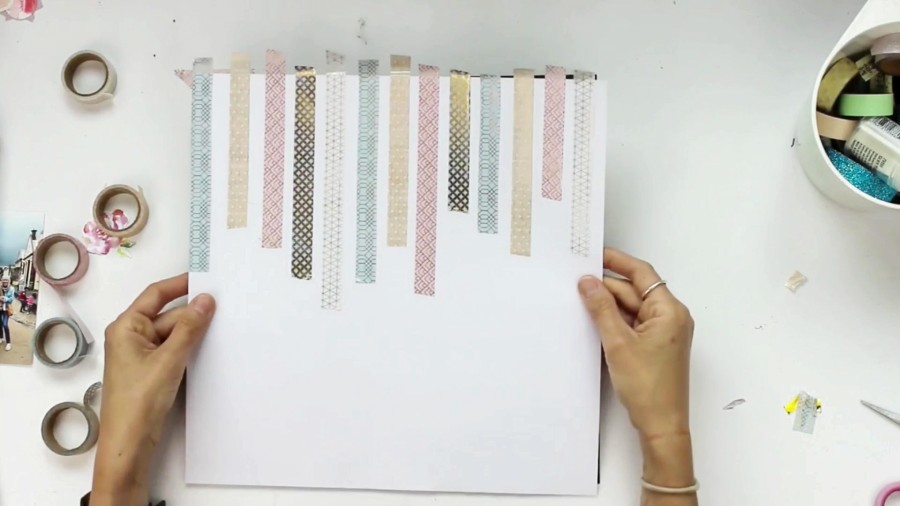
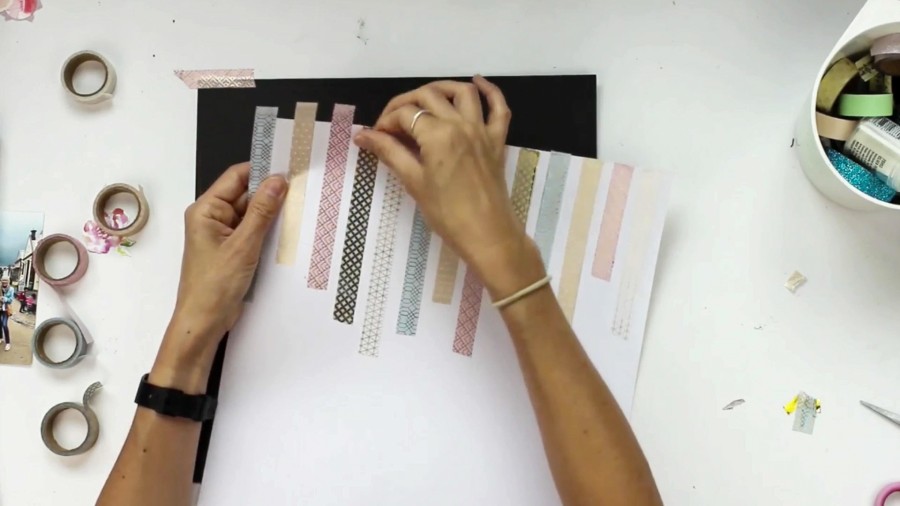
Layer the washi tapes from the top of the page with equal distance from each other. Make a variation of length and try not to have the same colors sitting next to each other. It will help if you already identify the position of your photo on the page.
Tip: Instead of cutting the tapes on the edge, folding it provides a cleaner look for your page.
♥How to get your creative juices flowing again so you'll NEVER experience scrappers block again!
♥How to always have the perfect scrapbook layout for every occasion!
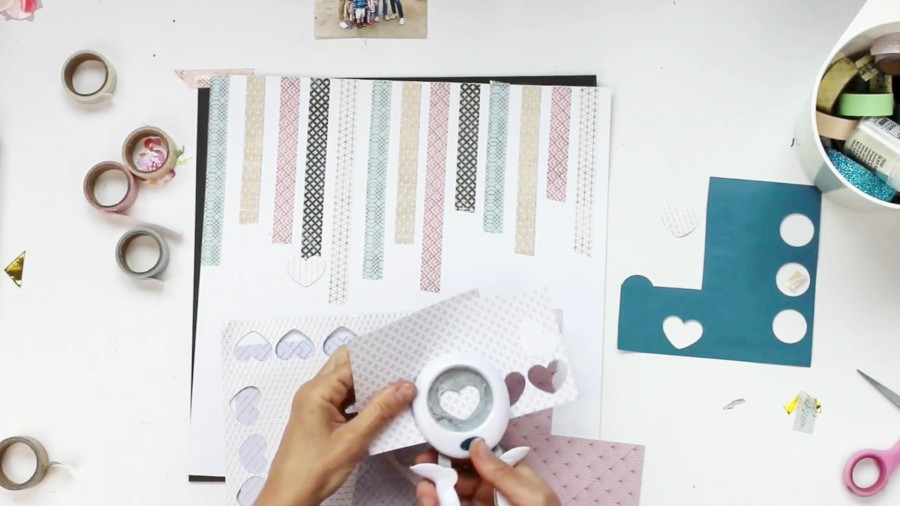
Make the heart shapes and round shapes using punchers or scissors. Make sure to use card stocks that match with your washi tapes.
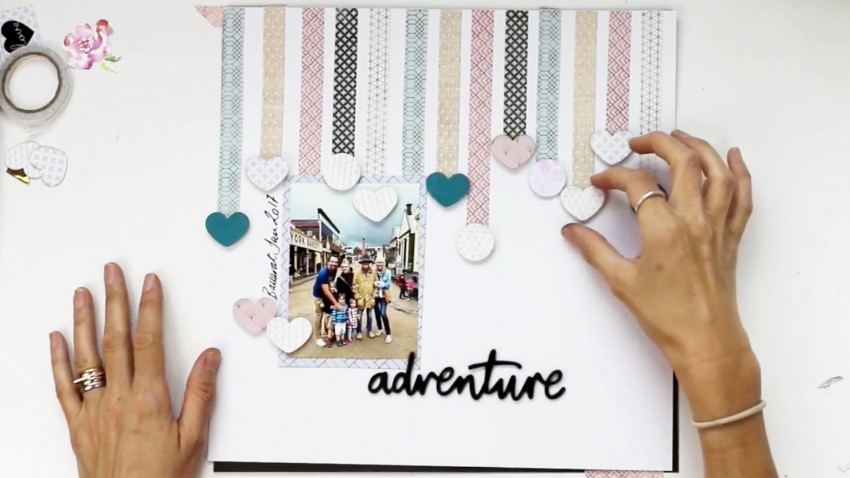
Place your photograph in your preferred position on the page. I used a matching card stock as a border of my photo. Once you have positioned the photo, you can now start placing the punched shapes at the end of each tape.
I used pop up dots to stick the shapes on the page for added effect. You can also use distress ink to create small borders around the shapes. Depending on your photo, you can also allow some shapes to go onto the photograph like I did here.
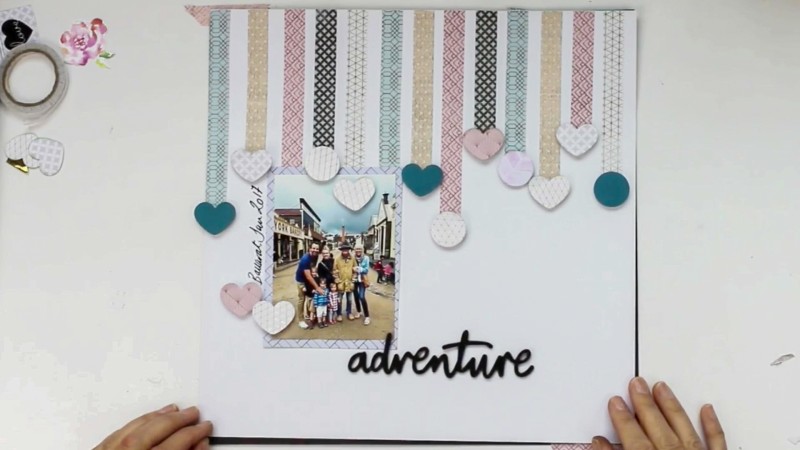
Just add more details and you'll have another beautiful scrapbook page. Here, I added the place and the date and the word "Adventure".
Have you got other colors of washi tapes? Make another one and discover new ways in creating this design. Feel free to share your creation in the comments!
Happy Scrapbooking!